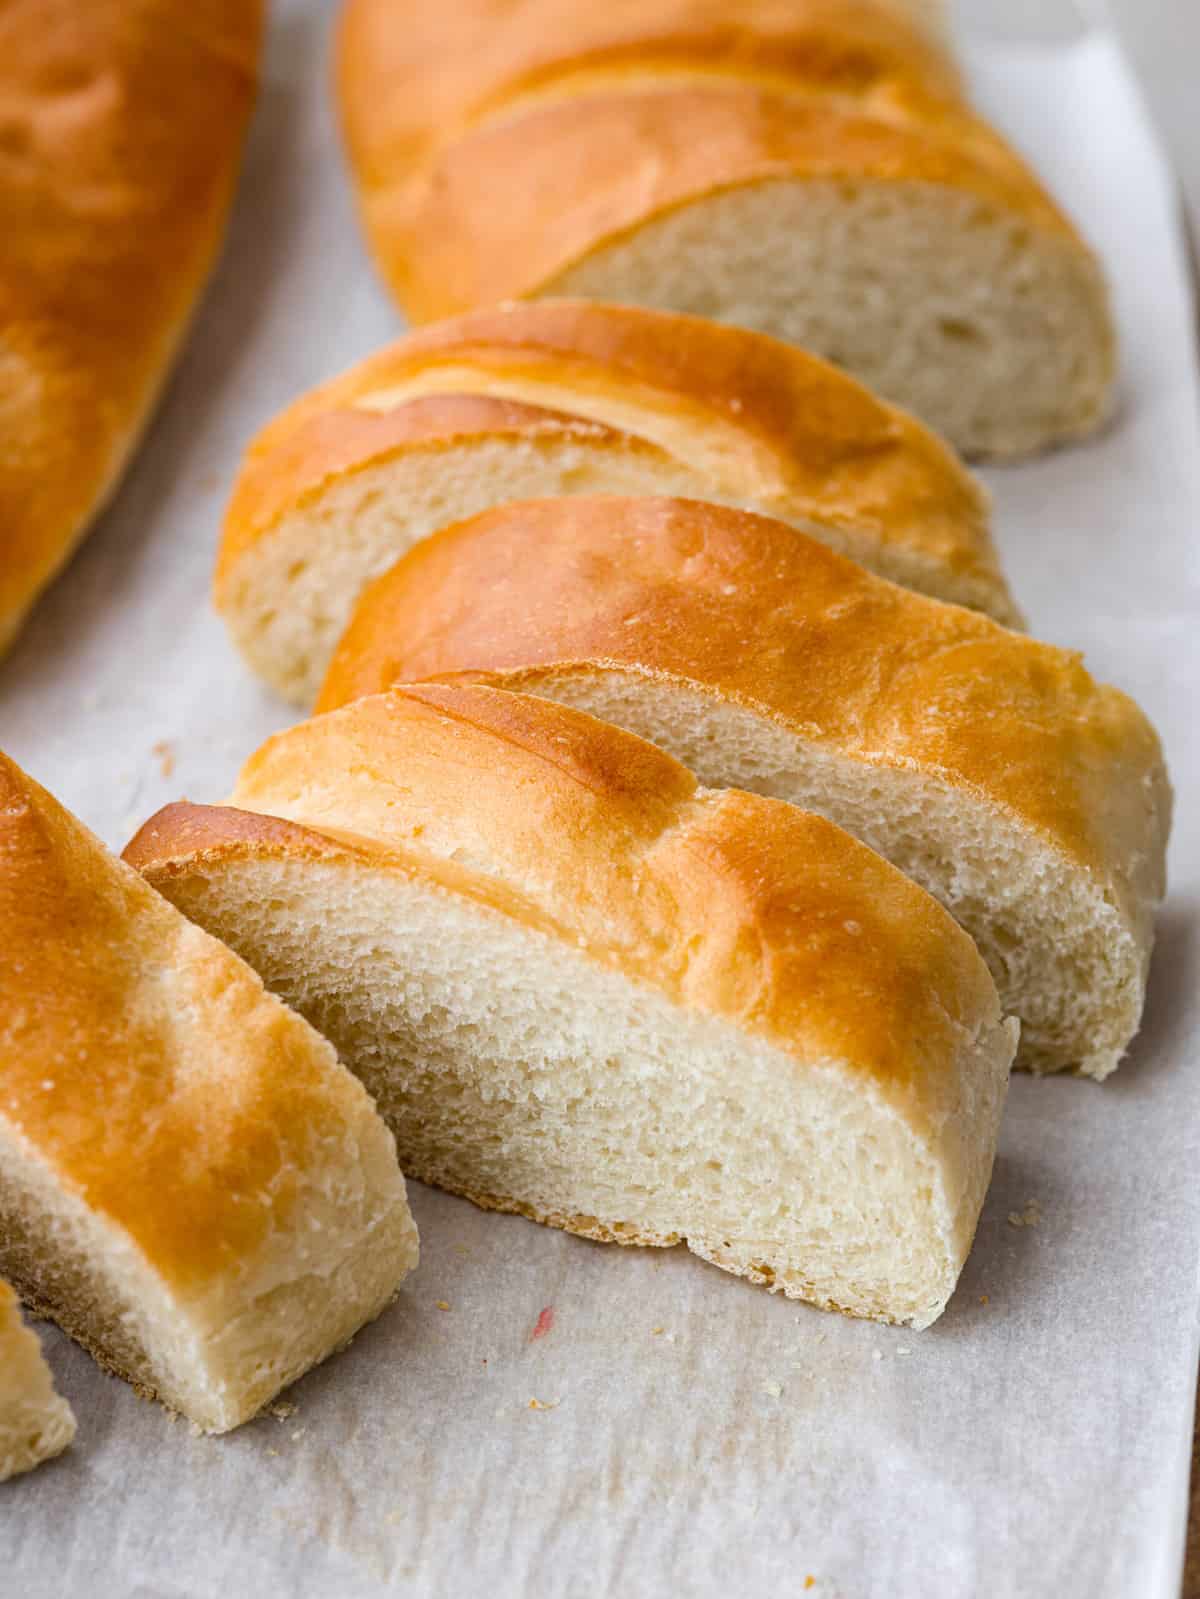
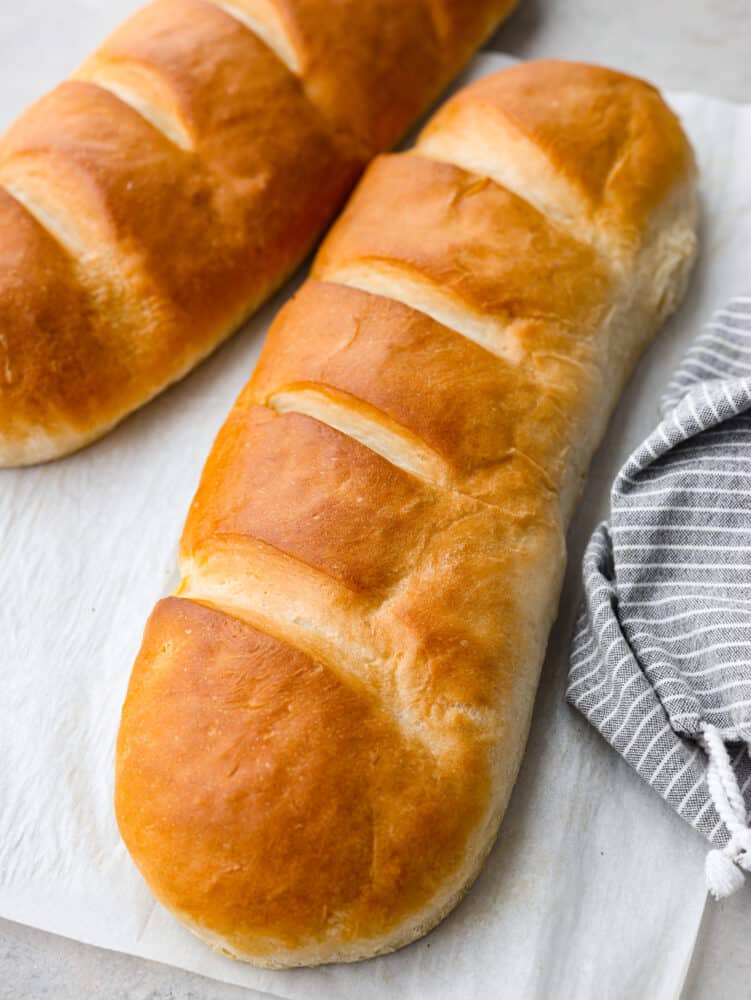
Making homemade French bread is a game-changer! Golden on the outside and supremely soft and tender on the inside, it will complement any meal perfectly!
I love making bread at home because it’s so fresh, delicious, and free of preservatives. Homemade sourdough, challah, and this French baguette are a few more tasty bread recipes to add to your baking lineup.
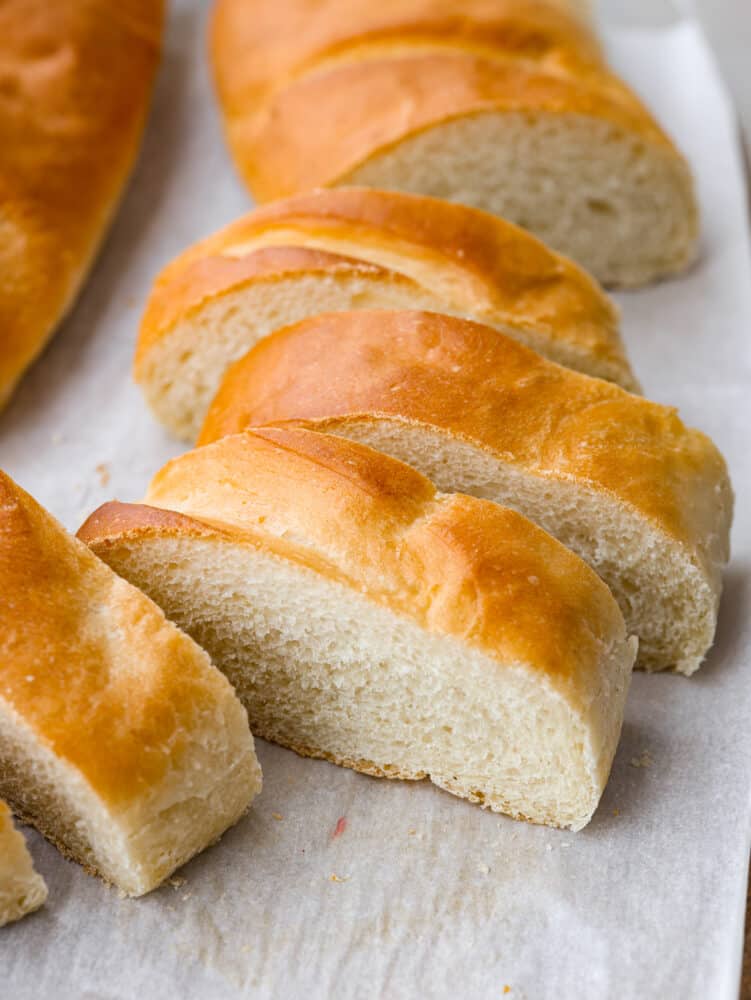
Delicious Homemade French Bread Recipe
There are few things in life better than a freshly-baked loaf of bread. French bread is one of my favorite types of homemade bread to make because it’s soft and thick with the perfect chew. It’s great for serving alongside dinner and even better for dipping! French bread and olive oil bread dip are one of my all-time favorite appetizer combos. It’s so simple but satisfying!
This homemade French bread recipe is a staple that you’ll want to come back to again and again. It’s straightforward to make and something both seasoned and beginner bakers will have success with! With a little patience and a lot of love, you’ll be able to make a loaf of bread unrivaled by your favorite bakery! Just be warned- making homemade French bread from scratch is super addictive and you’ll want to do it all the time. Good news! I’ve got a full list of easy and delicious bread recipes waiting for you here.
French Bread Ingredients
One of the reasons I love making homemade French bread so much is the fact that it uses such simple baking ingredients. Check out the recipe card below for exact measurements!
- Warm Water: Used to activate the yeast.
- Dry Active Yeast: This will give your bread that perfect rise. Keep in mind, it needs plenty of time to activate
- Granulated Sugar: Added to the yeast mixture to help activate it.
- Salt: Keeps your bread from tasting bland.
- All-Purpose Flour: Gives your french bread the perfect light and airy structure.
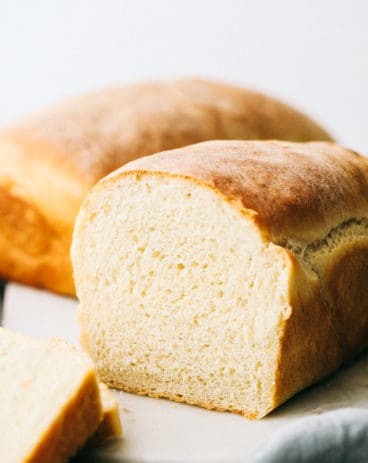
- Olive Oil: Helps your bread to have a softer, more tender crumb.
- Melted Butter: Softens the crust of the homemade French bread and adds a pop of rich flavor.
How to Make French Bread at Home
Don’t let the amount of steps fool you. Making homemade French bread is actually pretty simple! You just have to allow it plenty of time to rise so that your loaf ends up light and fluffy.
Preparing Your Dough:
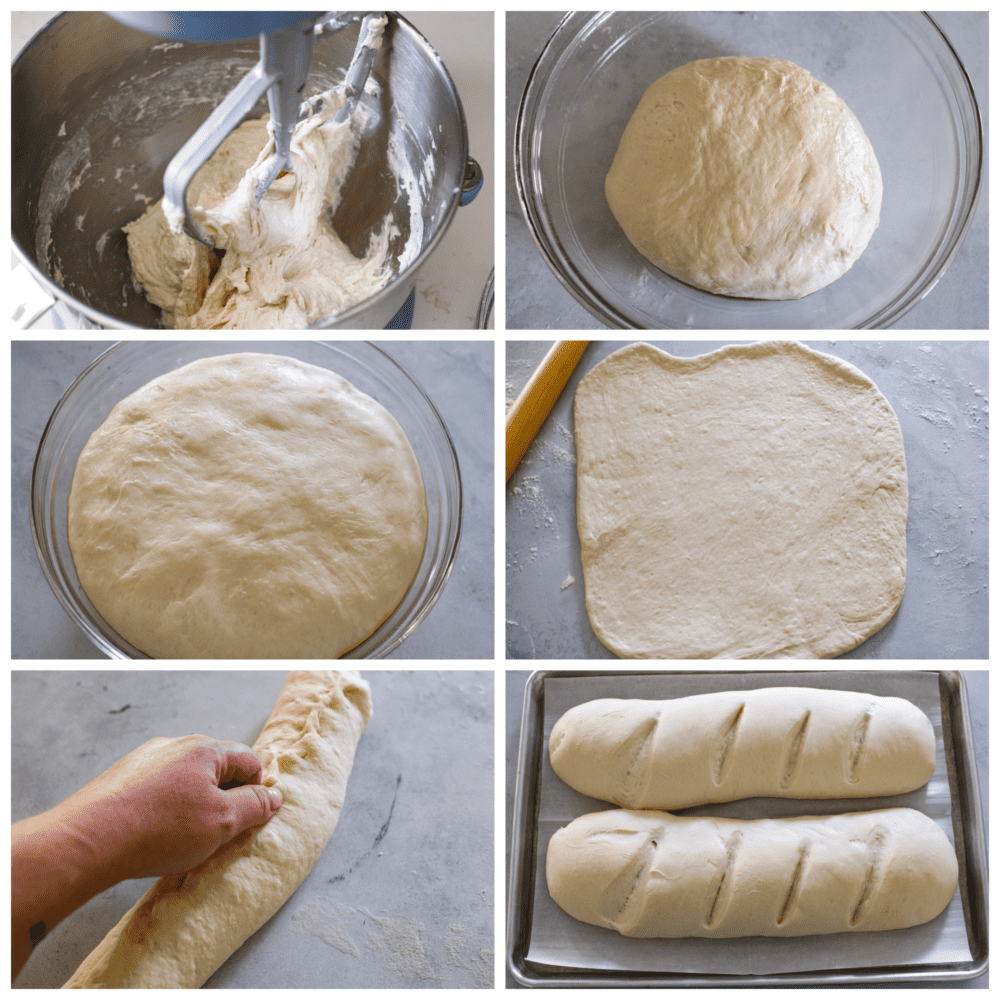
- Activate Yeast: Add the water, yeast, and sugar to the bowl of a mixer and mix with a fork to combine. Set aside for 5-10 minutes until the yeast is nice and frothy.
- Add Flour and Salt: Add the salt and 4 cups of flour to the bowl. Mix on low to medium-low speed with the paddle attachment until combined. It will be pretty wet at this point. Add the remaining cup of flour ¼ cup at a time until the dough is soft and pliable but not sticky.
- Knead: Turn the dough out onto a floured surface and knead for 3-4 minutes by hand until smooth. Pour the olive oil into a large bowl and add the dough, turning to coat the entire thing with the oil. Cover with plastic wrap or a clean kitchen towel.
- Proof: Let the dough rise until doubled, about an hour at room temperature. You can speed up this process by setting the oven to warm or the lowest heat, typically 170 degrees F. Place the covered bowl in the oven and drop a couple of ice cubes on the bottom of the oven to create moisture. Check the dough for your homemade French bread after 20-25 minutes.
- Shape: Once doubled, split the dough into two equal portions. Roll each half into a rectangle about 9×15 inches, though it doesn’t have to be exact. Roll the dough up the long side and pinch along the seam and ends.
- Let Rise Again: Place the two rolls of dough on a large parchment-lined baking sheet. Use a sharp knife to cut 4-5 slightly diagonal slashes across the tops of the dough. Cover with a kitchen towel and let rise for 20-30 minutes.
Baking:
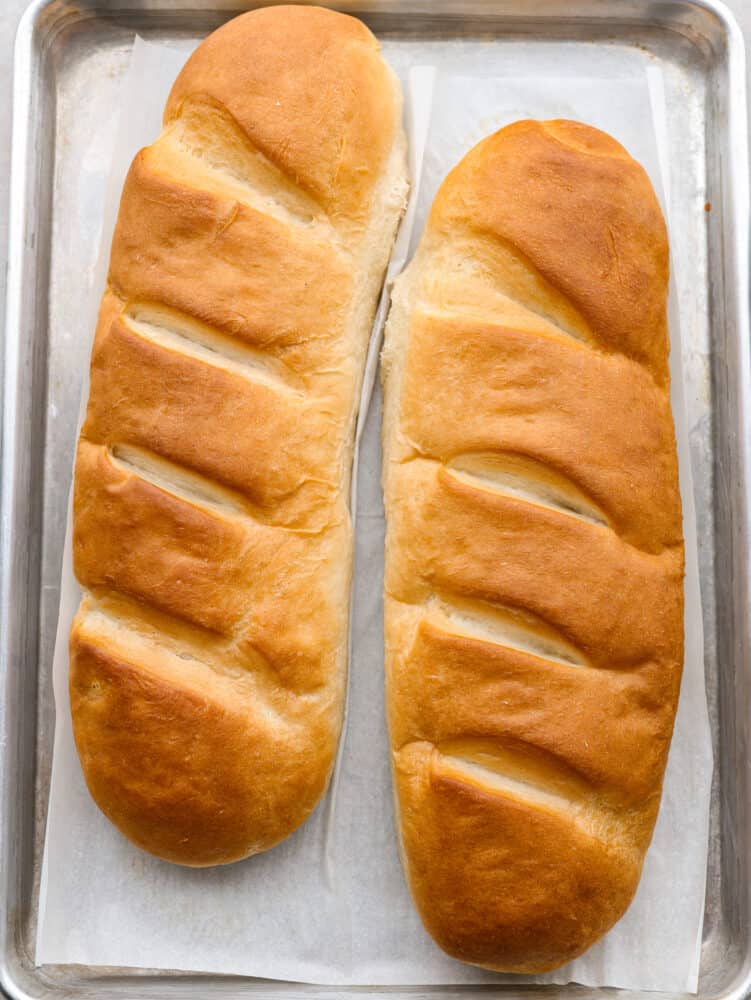
- Bake: While the loaves rise, preheat the oven to 400 degrees F. When the loaves have nearly doubled in size, bake on the center rack of the oven for 18-22 minutes until golden brown. If you want to create steam to add to the crispiness of the crust, toss a few ice cubes on the bottom of the oven and close the door quickly to trap it inside.
- Brush With Butter: If desired, brush the outside of the loaves with melted butter just after they come out of the oven.
- Cool and Serve: Allow the homemade French bread to cool completely before slicing to avoid the bread turning gummy.
Tips for Making a Successful Loaf
Here are a few extra tips to keep in mind so your homemade French bread tastes like it came straight from your favorite bakery! Ever since I started making French bread from scratch, I haven’t wanted storebought. It just doesn’t compare!
- Baker’s Lame: A baker’s lame is a fancy name for a razor specially used to slice the top of your loaf. I recommend investing in one. It makes scoring easy!
- Make Your Crust Shiny: Ever wonder how bakeries get their goods so glossy and delicious-looking? It’s an egg wash! Simply whisk an egg and water together and then brush it on top of your loaf before baking. It will add the perfect sheen.
- Crispy Crust: If you want to add more crispiness to your crust, toss a few ice cubes on the bottom of your oven and close the door quickly to create steam.
- Serve With: This bread is amazing on its own, but also great with a little honey butter or homemade jam!
How Long Will My Bread Stay Good For?
Because there are no preservatives in this homemade French bread, it will only stay fresh for 2-3 days before it starts to go dry.
- At Room Temperature: Store your loaf in a bread bag or wrap it in plastic wrap. It will stay good for up to 3 days.
- In the Freezer: Your homemade French bread will stay good for up to 2 months in a Ziploc bag. Thaw in the fridge overnight before use.
Homemade French Bread
Ingredients
- 2 Cups Warm Water
- 1 Tablespoon Dry Active Yeast
- 1 Tablespoon Granulated Sugar
- 2 ½ Teaspoons Salt
- 5 Cups All-Purpose Flour
- 2 Teaspoons Olive Oil
- 1-2 Tablespoons Butter Melted
Instructions
-
Add the water, yeast and sugar to the bowl of a mixer and mix with a fork to combine. Set aside for 5-10 minutes, until the yeast is nice and frothy.
-
Add the salt and 4 cups of the flour to the bowl. Mix on low to medium-low speed with the paddle attachment until combined. It will be pretty wet at this point. Add the remaining cup of flour ¼ cup at a time until the dough is soft and pliable, but not sticky.
-
Turn the dough out onto a floured surface and knead for 3-4 minutes by hand until smooth. Pour the olive oil into a large bowl and add the dough, turning to coat the entire thing with the oil. Cover with plastic wrap or a clean kitchen towel.
-
Let the dough rise until doubled, about an hour at room temperature. You can speed up this process by setting the oven to warm or the lowest heat, typically 170℉. Place the covered bowl in the oven and drop a couple ice cubes on the bottom of the oven to create moisture. Check the dough after 20-25 minutes.
-
Once doubled, split the dough into two equal portions. Roll each half into a rectangle about 9×15 inches, though it doesn’t have to be exact. Roll the dough up the long side and pinch along the seam and ends.
-
Place the two rolls of dough on a large parchment lined baking sheet. Use a sharp knife to cut 4-5 slightly diagonal slashes across the tops of the dough. Cover with a kitchen towel and let rise for 20-30 minutes.
-
While the loaves rise, preheat the oven to 400℉. When the loaves have nearly doubled in size, bake on the center rack of the oven for 18-22 minutes. If you want to create steam to add to the crispiness of the crust, toss a few ice cubes on the bottom of the oven and close the door quickly to trap it inside.
-
If desired, brush the outside of the loaves with melted butter just after they come out of the oven.
-
Allow to cool completely before slicing to avoid the bread turning gummy.
Nutrition
from The Recipe Critic https://ift.tt/B0ylnwt


No comments:
Post a Comment