Monday, 30 January 2023

Chicken and Rice Meal Prep Bowls

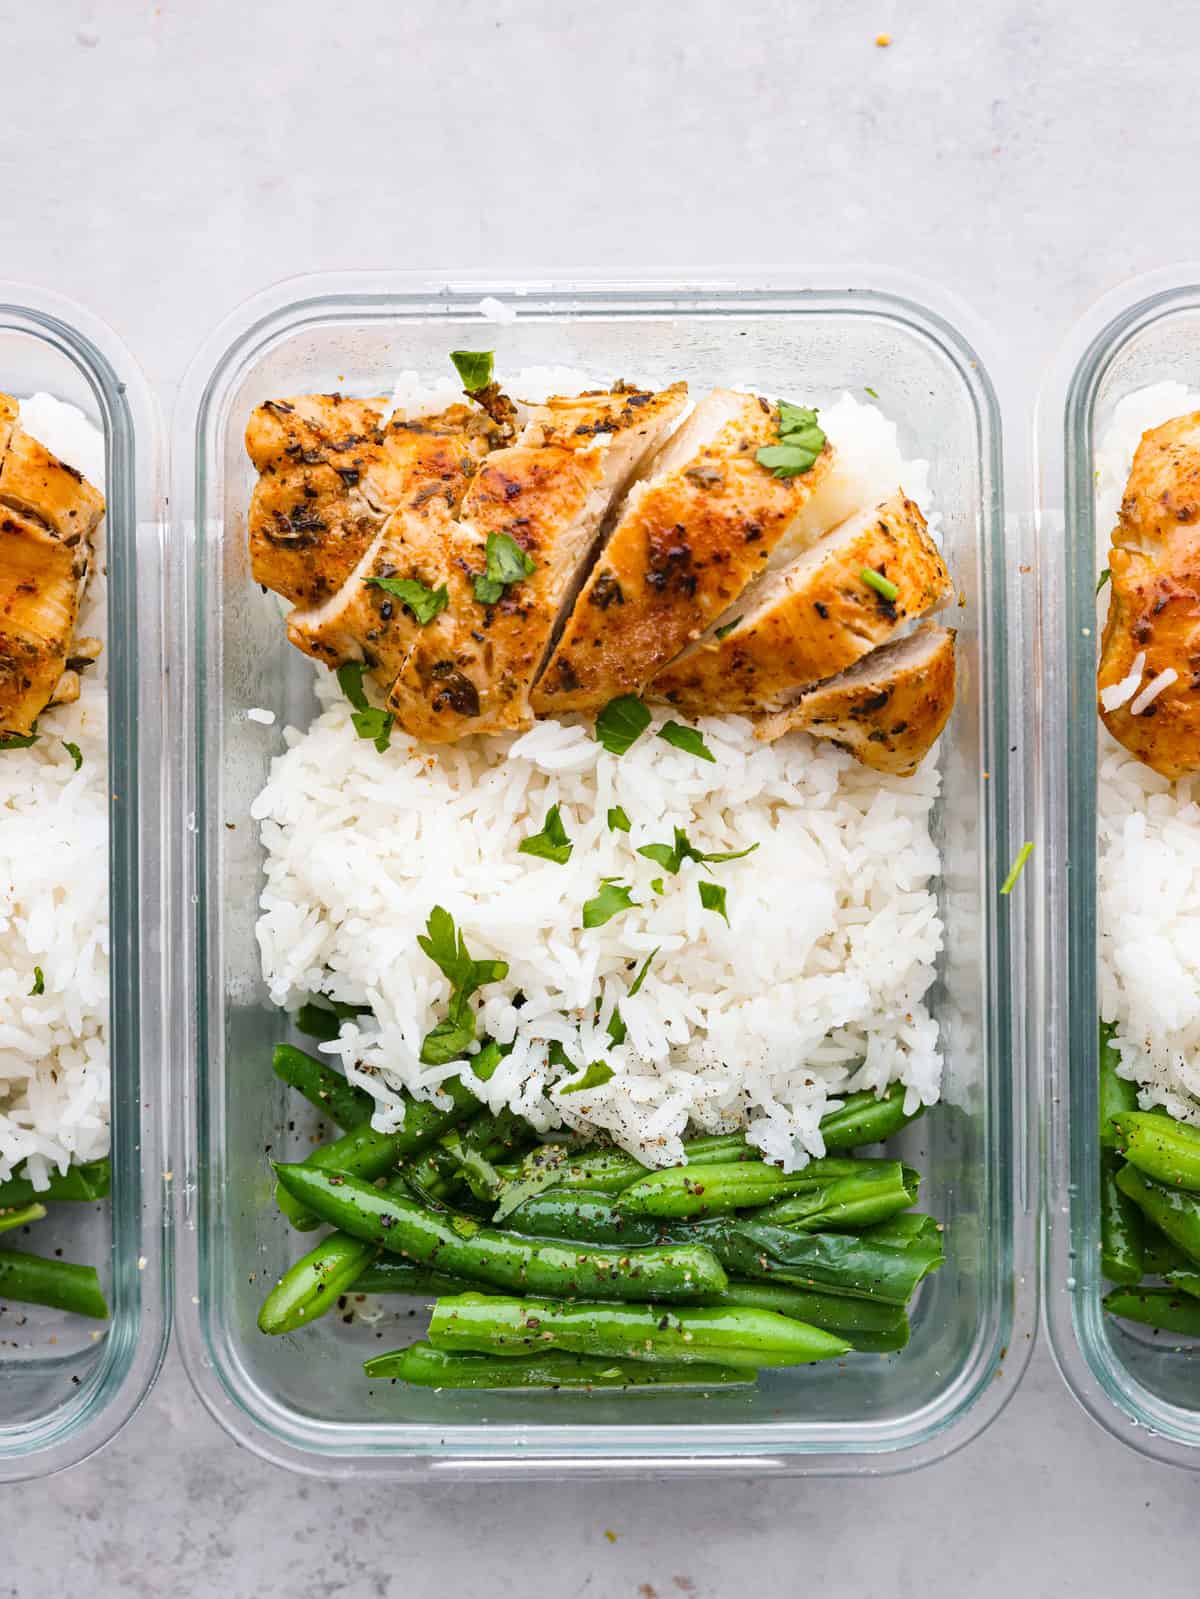
Although these chicken and rice meal prep bowls may seem simple, they’re anything but! The chicken is juicy, tender, and seasoned to perfection! You’re going to love having these easy-to-make meals on hand for a quick lunch.

Meal preps are a great way to keep costs low and also stay on track for your diet goals. You can customize them however you’d like and take them on the go! Need some ideas to get you started? Try these Korean beef meal prep bowls and teriyaki chicken meal prep bowls next!
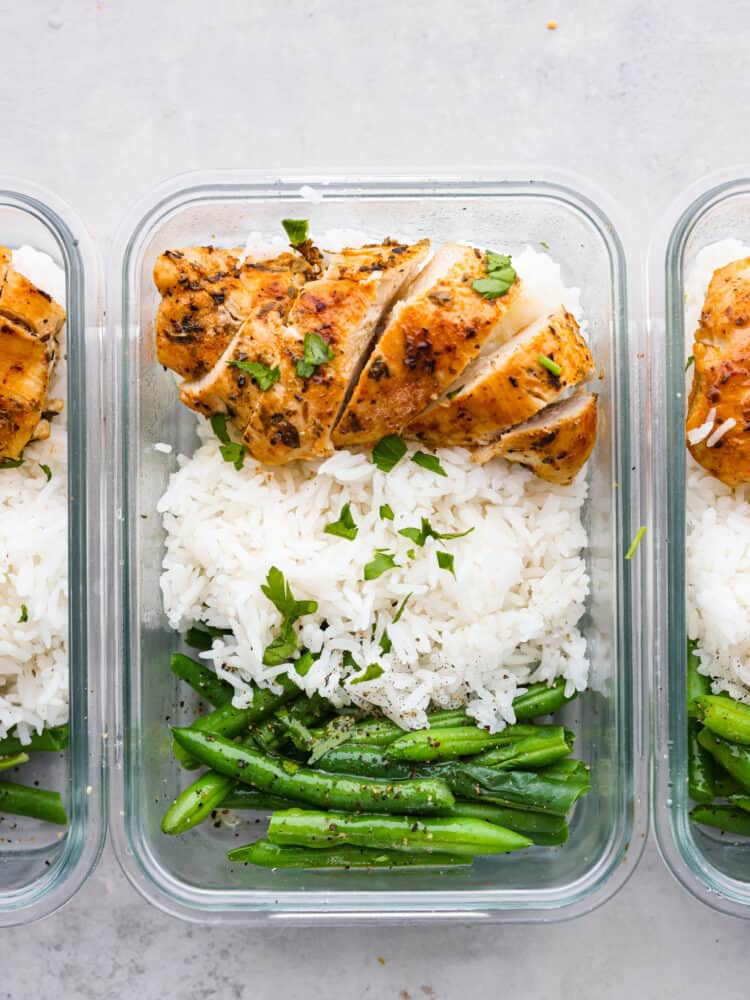
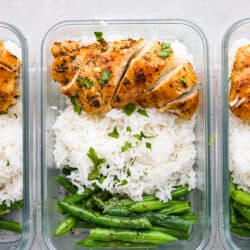
Top-down view of a plastic container filled with grilled chicken, white rice, and green beans.

Easy Chicken and Rice Meal Preps

Chicken and rice is the bread and butter of healthy eating. It’s the perfect ratio of protein and carbs to power you through your day! Pair it with your favorite veggies for some added nutrition and you have the perfect lunch. The chicken in these meal prep bowls is perfectly seasoned, juicy, and tender. You’ll love every bite!

Good news is- these chicken and rice meal prep bowls take less than 30 minutes to prepare. A weeks worth of meals in a snap! Another nice thing about these meal prep bowls is you can customize them to work into any diet. So whether you’re wanting something keto or low-carb, these are perfect for you. See my tips section below for ideas!

Everything You’ll Need

I love these chicken and rice meal prep bowls because they use a bunch of pantry staples. They’re also great for using up leftover chicken if you have it! Exact measurements can be found in the recipe card below.

  • Chicken Breasts: This is the main protein source in the meal prep bowls. They are cooked until they’re perfectly juicy and oh-so tender!
  • Olive Oil: Used to sear the chicken in. It adds richness and flavor to the dish.
  • Homemade Chicken Seasoning: A tasty blend of herbs and spices that add depth and taste to the chicken. Find my full recipe here!
  • Cooked Rice: Adds carbs to the meal preps. Looking for low-carb options? I’ve got you covered! Check out my tips section below.
  • Steamed Green Beans: A fresh, crisp veggie that adds nutrients, color, and texture to the dish. Feel free to swap this out for your other favorite greens!

How to Make Chicken and Rice Meal Prep Bowls

These are going to be your new favorite lunch. They’re so delicious yet so simple to throw together! Plus, it’s easy to work them into your macros. The perfect diet-friendly meal!

  1. Precook Rice: Cook the rice ahead of time. You can also use prepackaged cooked rice for convenience.
  2. Season Chicken: Prepare the chicken by seasoning it with my homemade chicken seasoning.
  3. Sear: Add the olive oil to a skillet and then cook the chicken over medium-high heat for 5-7 minutes on each side. The chicken should be cooked through and no longer pink. You can also use my air fryer method for cooking the chicken if you prefer!
  4. Steam Veggies: Steam the vegetables until tender.
  5. Assemble: To assemble the bowls, evenly divide all of the cooked ingredients into four sealable containers. Each container will contain ½ cup rice, ½ cup cooked chicken, and ½ cup green beans.
  6. Store and Enjoy: Seal the containers and then store them in the refrigerator until ready to eat. Warm in the microwave and enjoy!
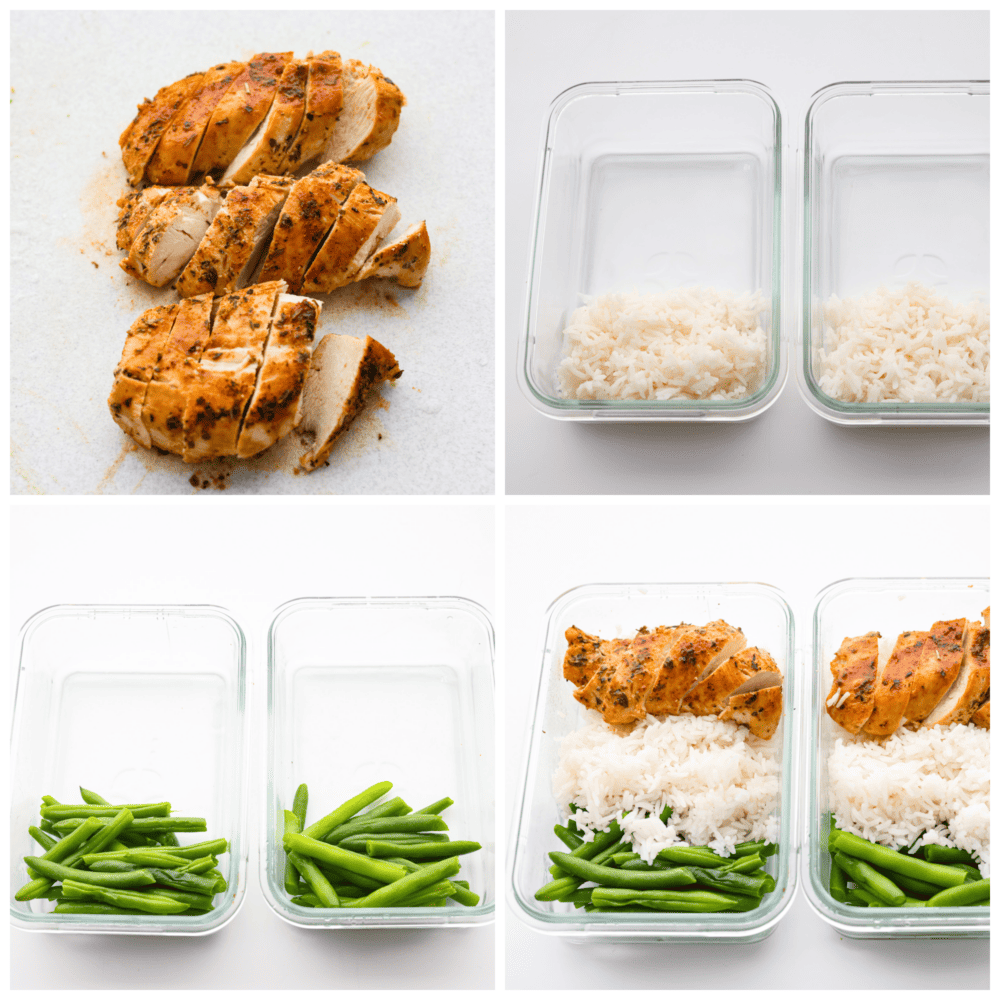
4-photo collage of meal preps being assembled.

Tips and Substitutions

You can make these chicken and rice meal prep bowls exactly how you like them! Here are a few ideas to get you started.

  • Keto/Low-Carb: To make these meal prep bowls keto-friendly, swap out the white rice for cauliflower rice, zucchini noodles, or Konjac rice. I also love using Banza chickpea rice and pasta because it’s low-carb and adds an extra boost of protein to any meal.
  • Seasoning Your Chicken: To switch up your meal preps, try seasoning your chicken breasts with lemon pepper, blackened, or Cajun seasoning!

How Long Do Chicken and Rice Meal Prep Bowls Last?

In an airtight container, these meal prep bowls will last for up to 4 days in the fridge. For a quick and easy lunch, simply pop them into the microwave until warmed through and enjoy!
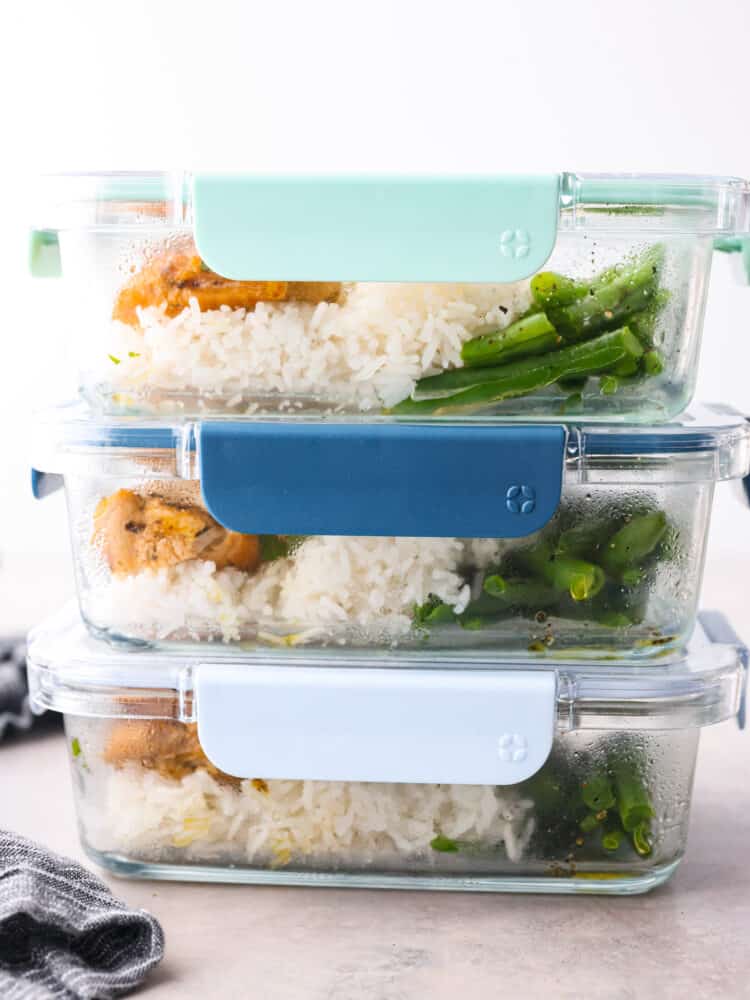
3 airtight containers filled with chicken and rice stacked on top of each other.
Print

Chicken and Rice Meal Prep Bowls

Although these chicken and rice meal prep bowls may seem simple, they’re anything but! The chicken is juicy, tender, and seasoned to perfection! You’re going to love having these easy-to-make meals on hand for a quick lunch.
Course Dinner, lunch
Cuisine American
Keyword chicken and rice meal prep bowls, Healthy, meal prep
Prep Time 10 minutes
Cook Time 15 minutes
Total Time 25 minutes
Servings 4
Calories 521kcal
Author Alyssa Rivers

Ingredients

  • 1 pound boneless skinless chicken breasts
  • 1 tablespoon olive oil
  • 2 tablespoons homemade chicken seasoning
  • 2 cups rice cooked
  • 2 cups green beans steamed

Instructions

  • Cook the rice ahead of time or use prepackaged cooked rice for convenience.
  • Prepare the chicken by seasoning it with my homemade chicken seasoning.
  • Add the olive oil to a skillet and cook the chicken over medium-high heat for 5-7 minutes on each side. The chicken should be cooked through and no longer pink. You can also use my air fryer method for cooking the chicken if you prefer!
  • Steam the vegetables until tender.
  • To assemble the bowls, evenly divide all of the cooked ingredients into four sealable containers.
  • Each container will contain ½ cup rice, ½ cup cooked chicken, and ½ cup green beans.
  • Seal the containers and store them in the refrigerator until ready to eat. Warm in the microwave and enjoy!

Nutrition

Calories: 521kcal | Carbohydrates: 79g | Protein: 32g | Fat: 7g | Saturated Fat: 1g | Polyunsaturated Fat: 1g | Monounsaturated Fat: 4g | Trans Fat: 0.01g | Cholesterol: 73mg | Sodium: 140mg | Potassium: 656mg | Fiber: 3g | Sugar: 2g | Vitamin A: 466IU | Vitamin C: 8mg | Calcium: 72mg | Iron: 2mg


from The Recipe Critic https://ift.tt/Zv1ptaK

Black Beans and Rice

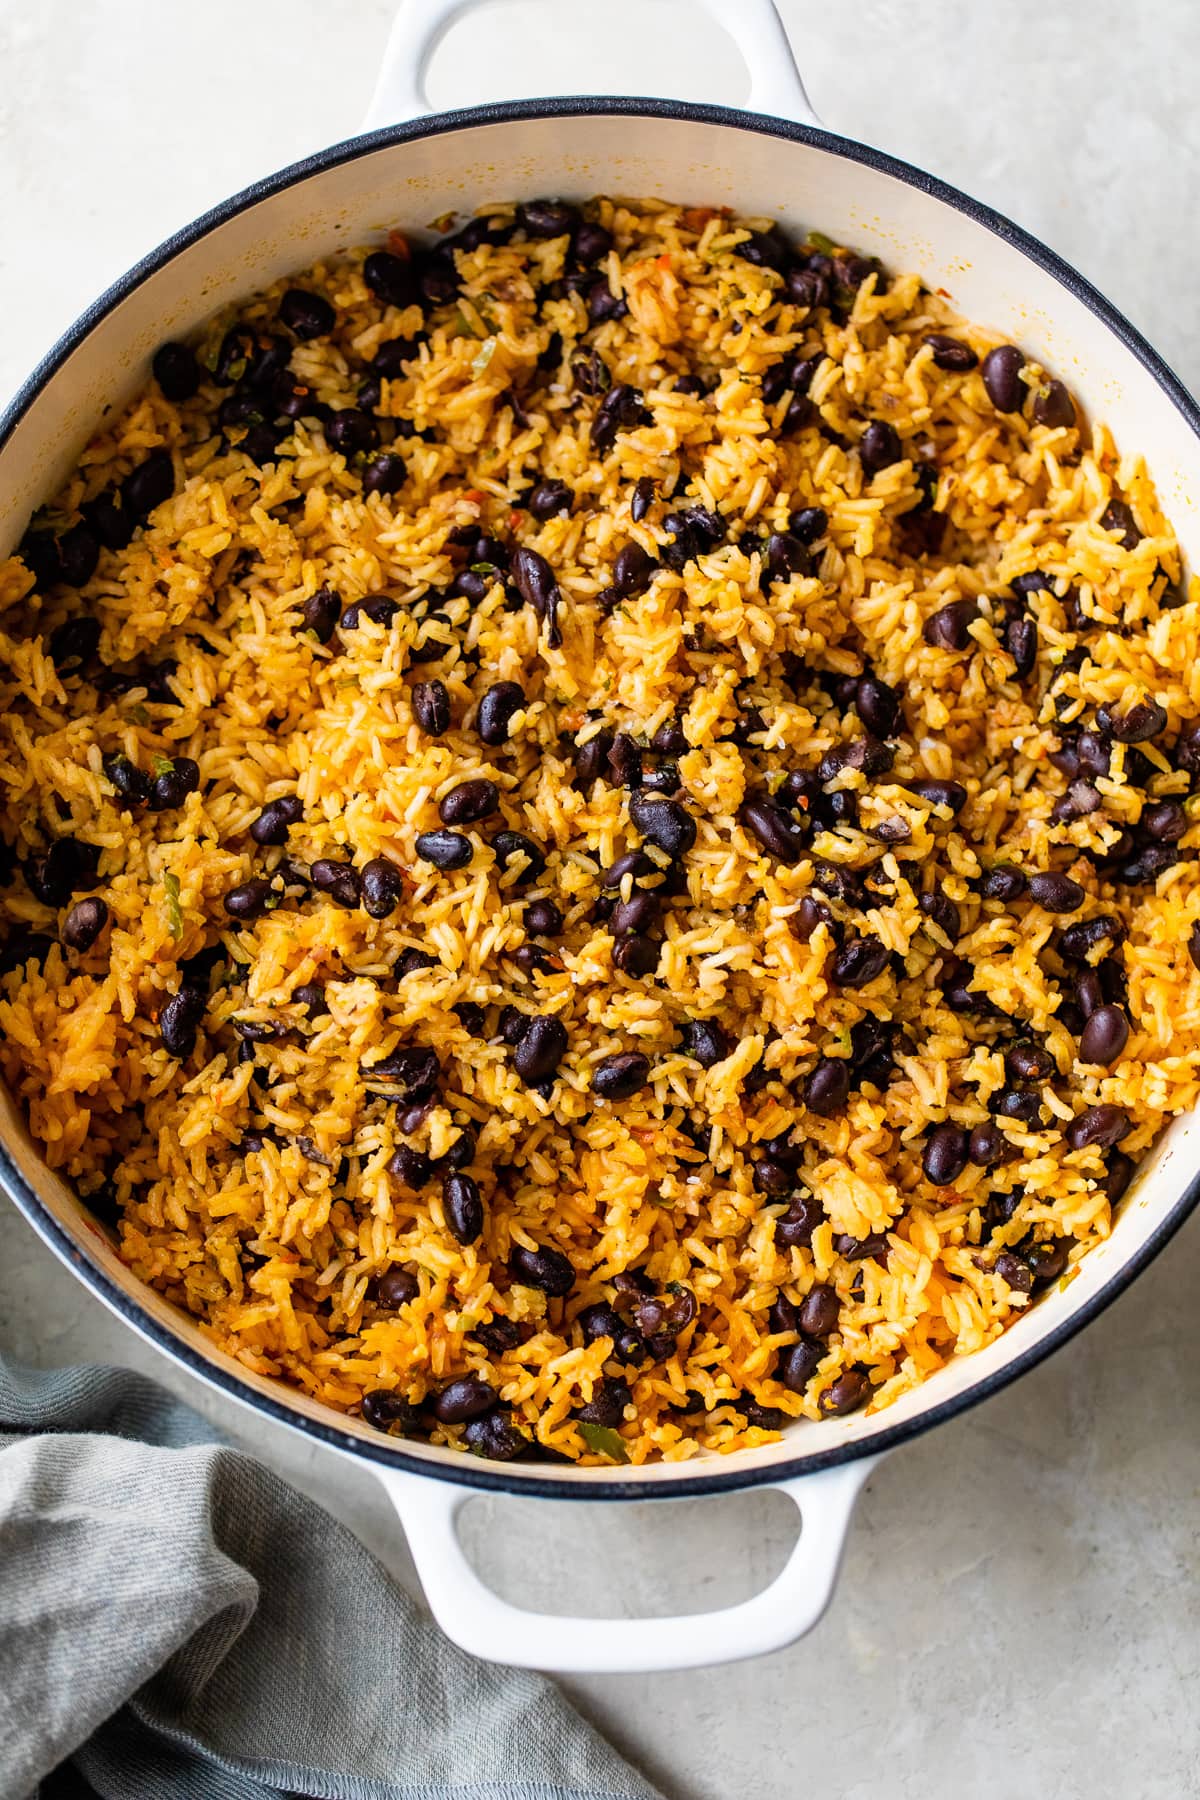
This quick and easy recipe for Black Beans and Rice is delicious! Made with sofrito, canned black beans and long-grain rice.

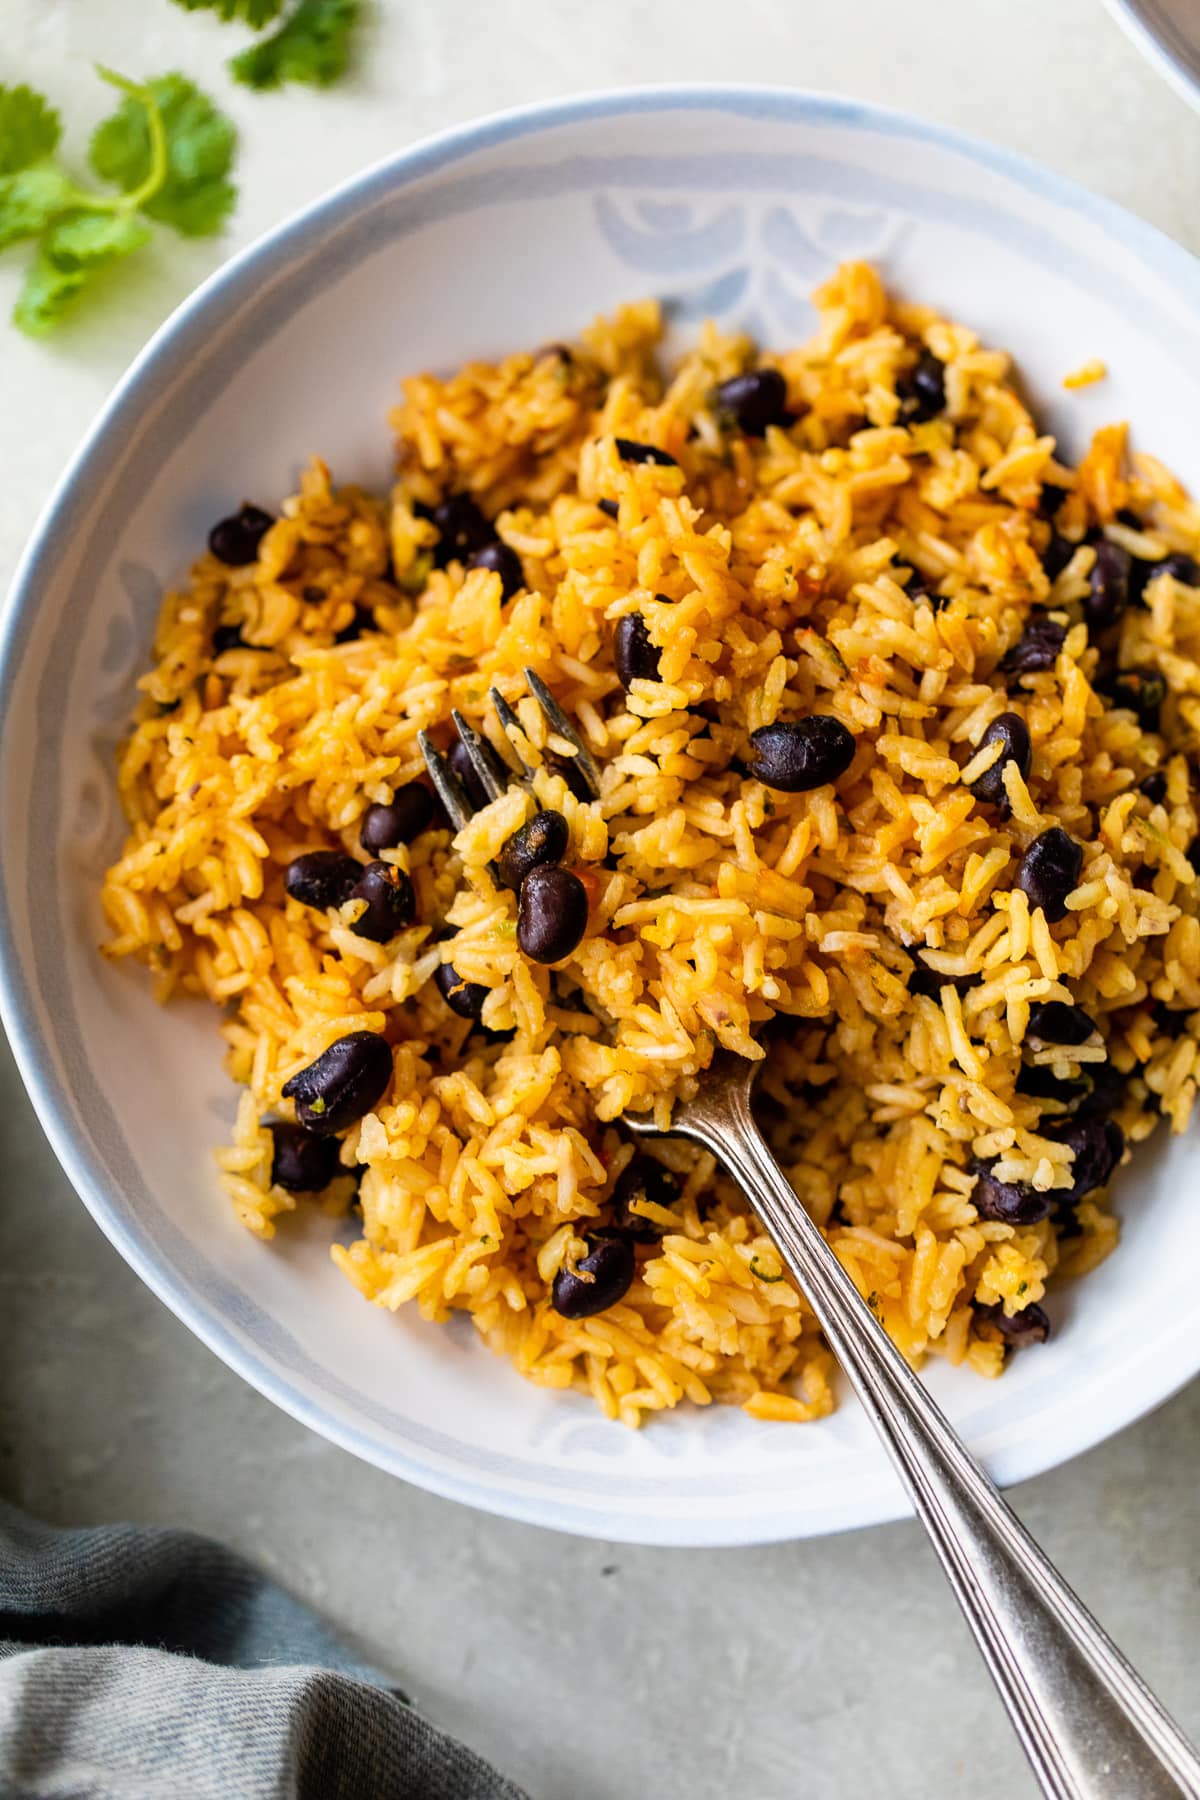
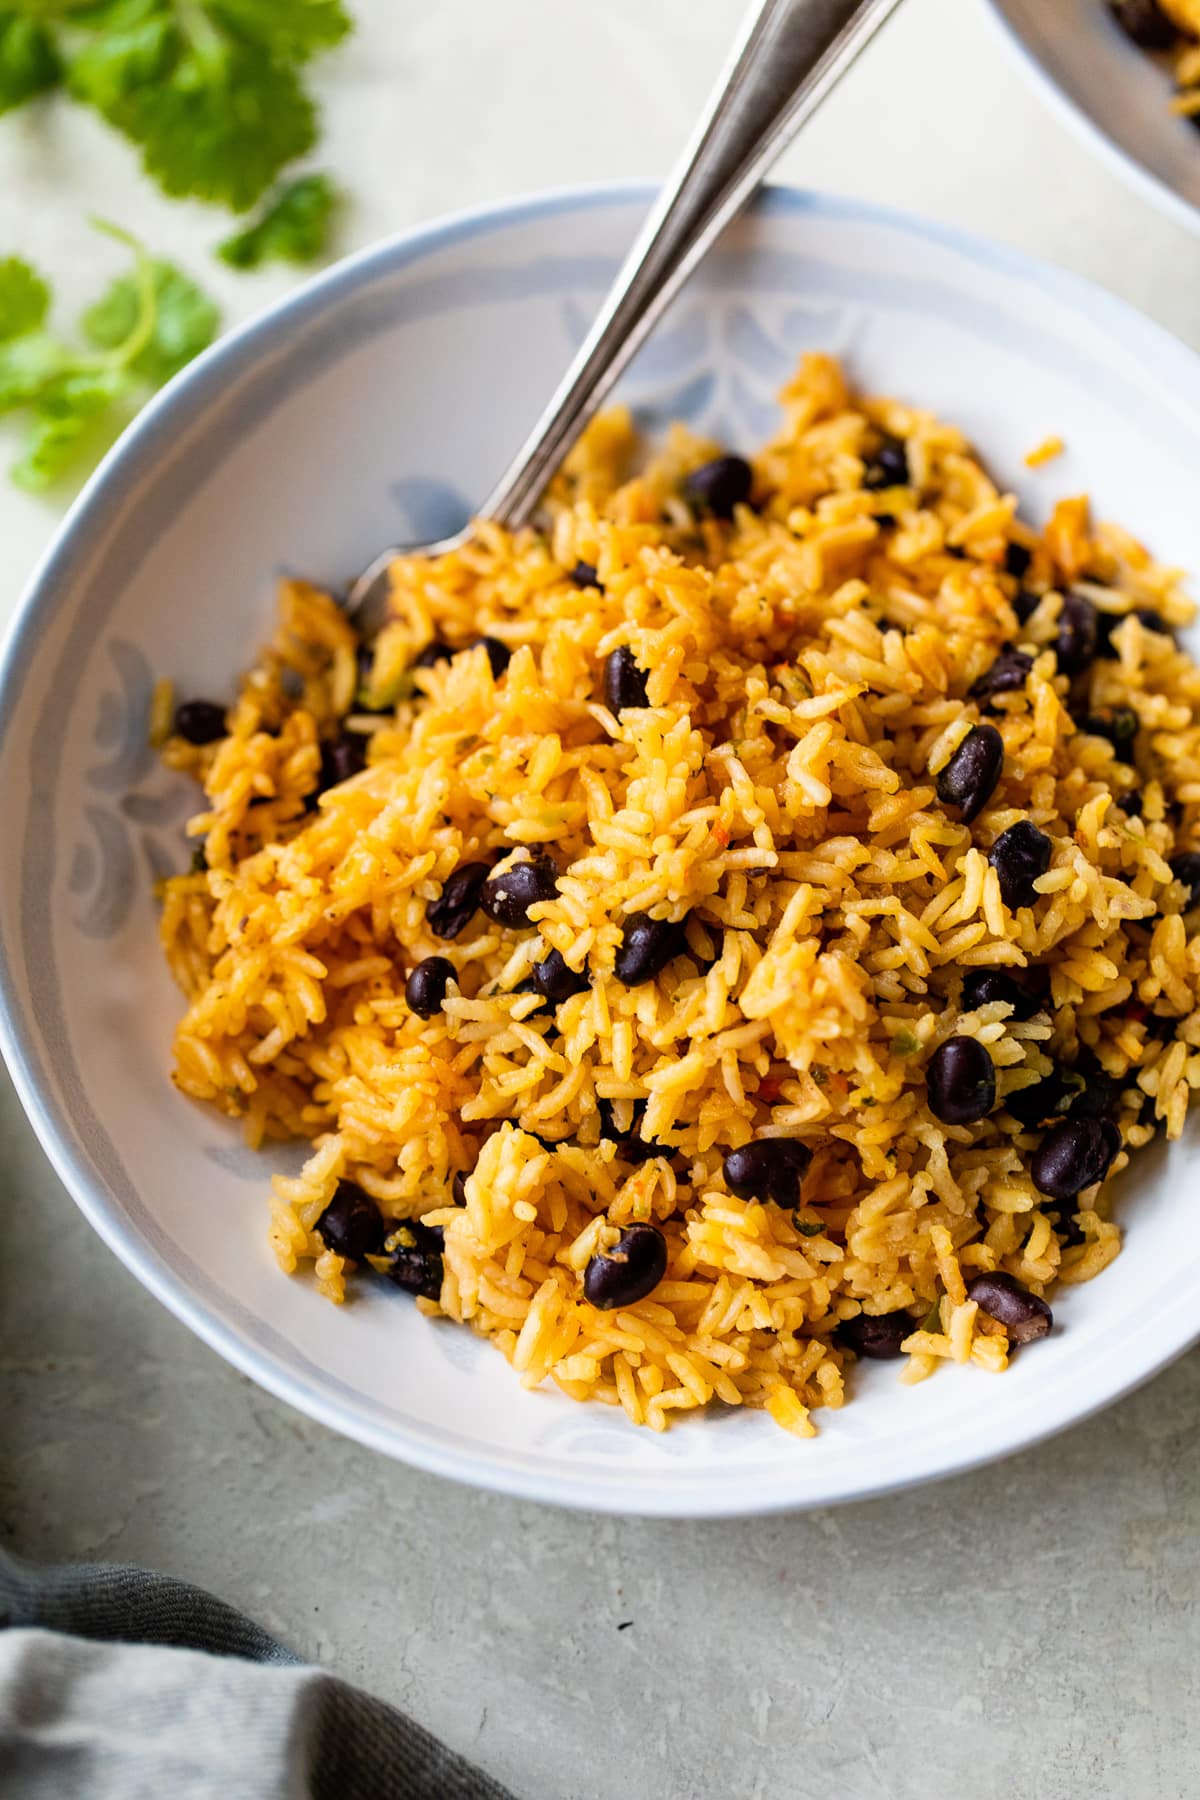
rice and black beans with a fork

Black Beans and Rice

Serve these rice and beans as a meatless main dish with avocado or a side with steak, pork chops, grilled chicken, and more. My husband is half Puerto Rican, and rice and beans are his love language, so I make this delicious dish all the time! This healthy Black Beans and Rice recipe is similar to my Cuban Arroz Congri, with a few differences. They’re so easy to make and always a hit. A few more of my favorite Latin bean recipes are Dominican Beans, Arroz con Gandules, and Mexican Pinto Beans.

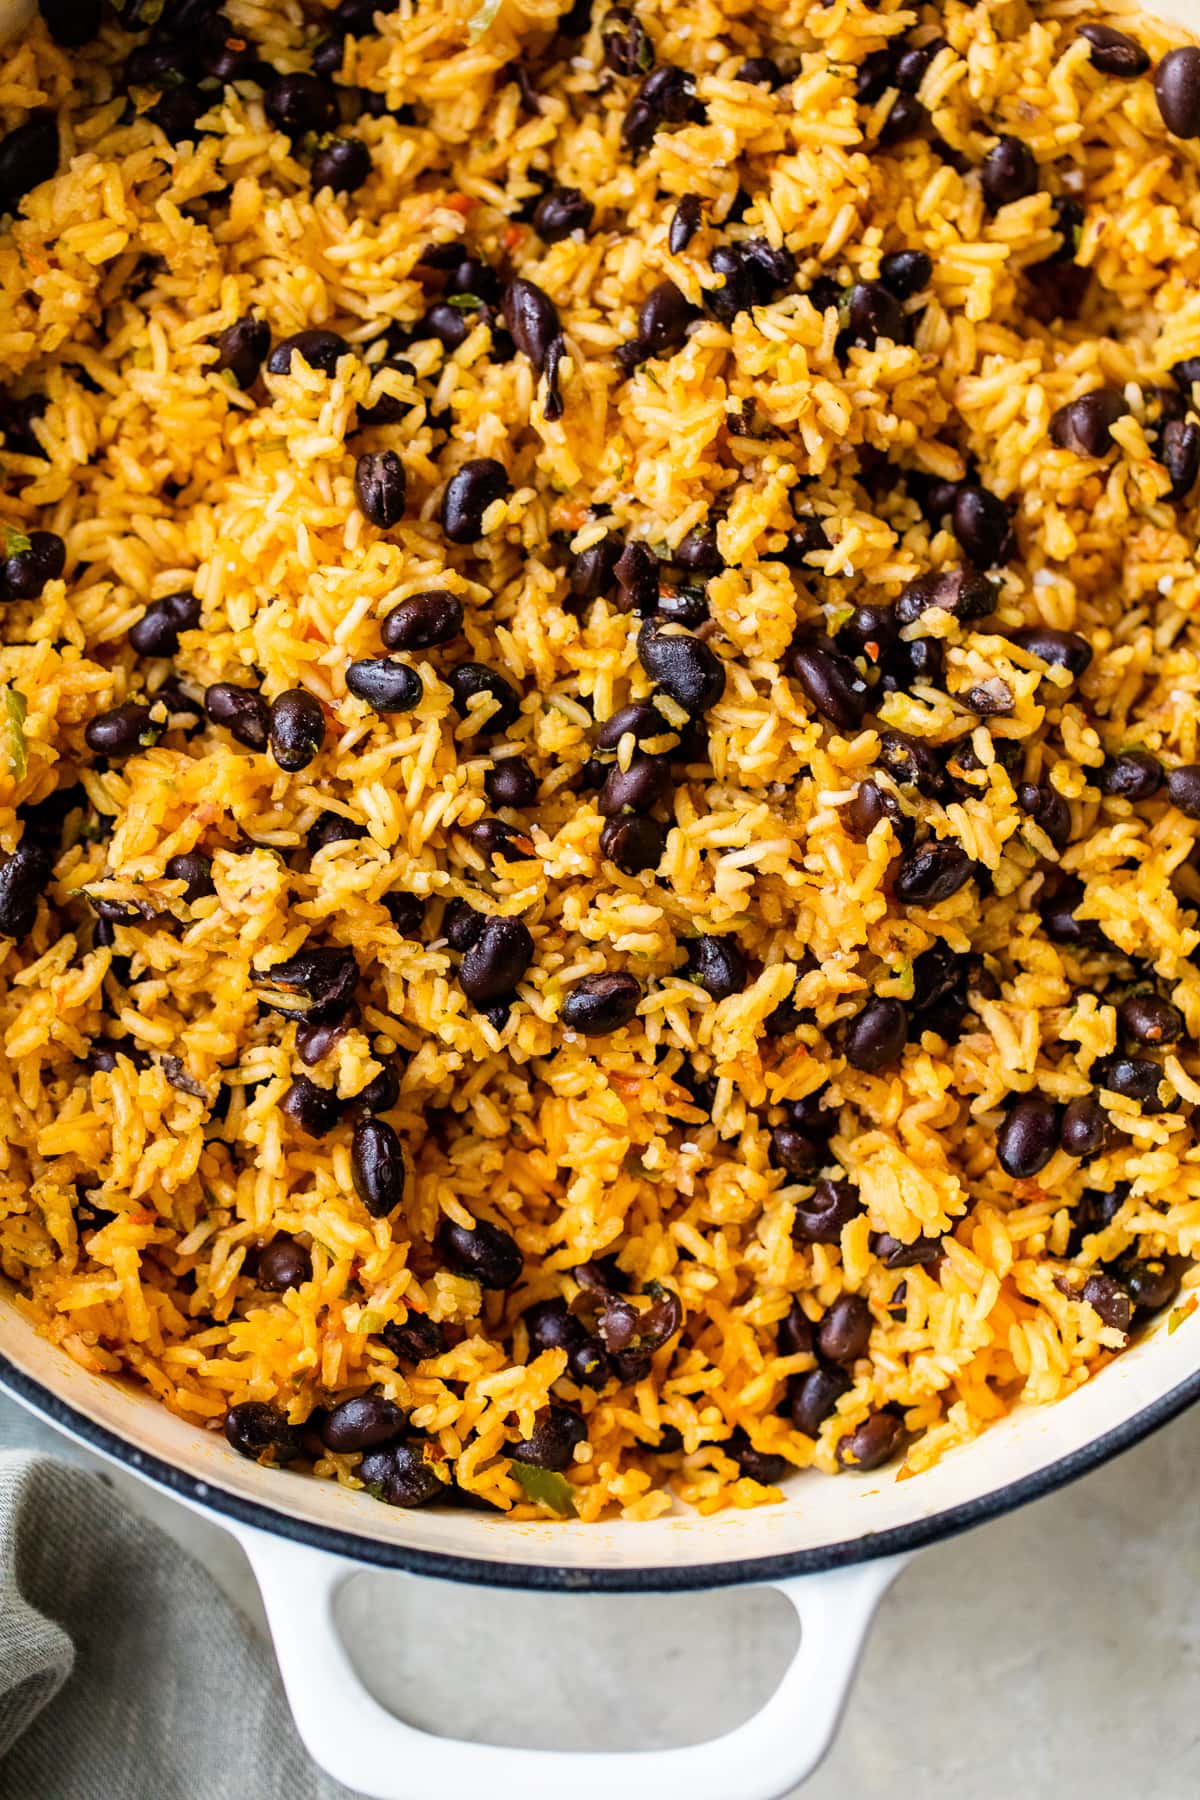
Pot of Yellow Rice and Black Beans

Are black beans and rice healthy?

Rice and black beans both have protein, and beans are full of fiber. Paired together, they provide a very filling meal. One serving has 6.5 grams of protein and 4.5 grams of fiber. They also both have a variety of vitamins and minerals.

Ingredients

  • Sofrito: Sofrito is a sauce made of onion, peppers, and garlic that I use in so many stews, beans, and meat dishes. I like to make a big batch and freeze it in ice cube trays, so I always have some available.
  • Black Beans: Using canned beans saves time.
  • Rice: Buy long-grain white rice.
  • Water to cook the rice and other ingredients in
  • Sazon: Sazon is a Latin spice blend with achiote, coriander, cumin, oregano, garlic powder, salt, and pepper. The achiote is what gives the rice the yellow color. You can make homemade sazon or purchase a packet at the supermarket.
  • Bouillon: For vegetarian choose vegetable bouillon, but chicken will also work.
  • Salt to flavor

How to Make Black Beans and Rice

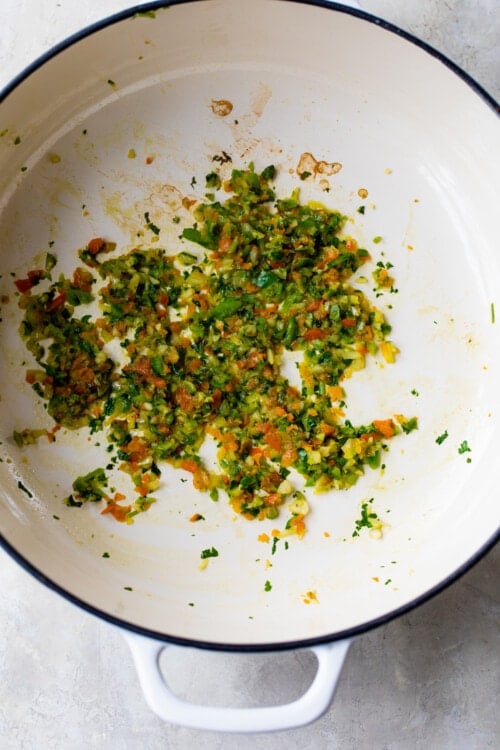
  1. Cook the Sofrito: Heat a medium pot over medium heat and pour in the oil. Add the sofrito and cook for a few minutes until fragrant.
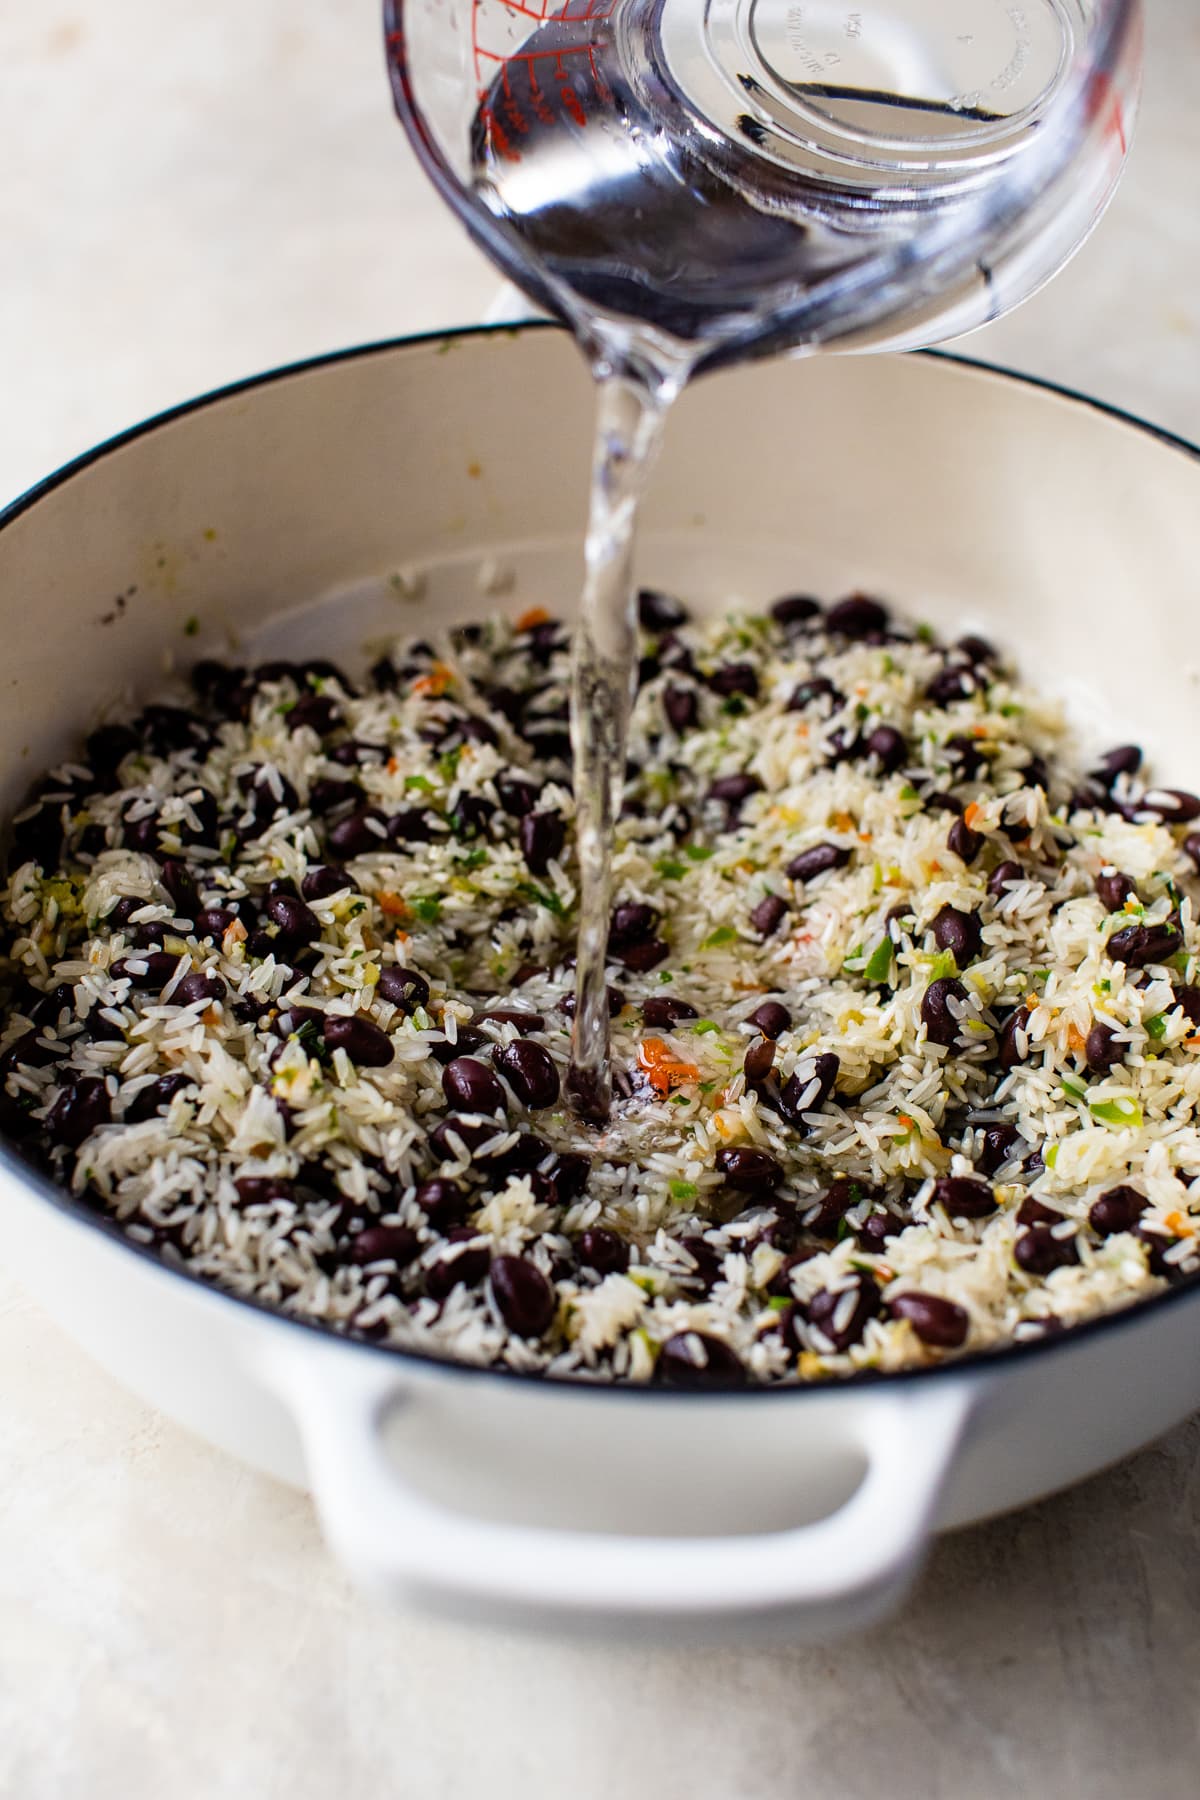
  2. Boil: Stir in the rinsed beans and rice and then the water, sazon, bouillon, and salt. Bring it to a boil over medium heat and let it cook until the liquid is almost absorbed and just skims the top of the rice.
  3. Simmer: Cover the pot with a lid and cook on low for 15 minutes. Remove it from the heat and let it sit for 5 to 8 minutes without lifting the lid.

How to Freeze Black Beans and Rice

Leftovers are good in the fridge for up to five days or in the freezer for a few months. Store them in smaller airtight containers for individual portions or larger ones to pull out for dinner for the whole family when you need a quick side dish. Thaw them overnight in the refrigerator and warm them on the stove or in the microwave.

how to make rice and beans
large pot yellow rice black beans
Bowl of Black Beans and Rice

This rice and beans dish can be eaten as a meal or served as a side with a protein, like:

More Black Bean Recipes You’ll Love:

rice and black beans with a fork
Print WW Personal Points
Did you make this recipe?

Black Beans and Rice

6
236 Cals 6.5 Protein 46.5 Carbs 2 Fats
Prep Time: 15 mins
Cook Time: 30 mins
rest time: 5 mins
Total Time: 50 mins
Yield: 8 servings
COURSE: Dinner, Side Dish
CUISINE: Latin
This quick and easy recipe for Black Beans and Rice is delicious! Made with sofrito, canned black beans and long-grain rice.

Ingredients

  • 1 tablespoon olive oil
  • 1/4 cup sofrito, I keep this in my freezer
  • 1 can black beans, rinsed and drained
  • 2 cups long grain rice, I like Carolina
  • 3 1/2 cups water
  • 1 packet Sazon with achiote, or 1/2 tablespoon homemade sazon
  • 1 large vegetable or chicken bouillon cube, such as Maggi
  • 1 teaspoon kosher salt

Instructions

  • Heat a medium heavy pot with a tight fitted lid over medium heat and add the oil.
  • Add the sofrito and cook until it melts and becomes fragrant, stirring 3 to 4 minutes.
    sofrito
  • Add the rinsed beans and rice and mix well.
  • Add the water, sazon, bouillon and salt, stir and let it cook, boiling over medium heat until the liquid is almost all absorbed and just skims the top of the rice.
  • Quickly cover the lid and cook low heat 15 minutes.
  • Remove from heat and let it sit 5 to 8 minutes more, without lifting the lid so the steam finishes the rice.
  • Fluff with a fork and enjoy.

Nutrition

Serving: 7/8 cup, Calories: 236kcal, Carbohydrates: 46.5g, Protein: 6.5g, Fat: 2g, Saturated Fat: 0.5g, Sodium: 331mg, Fiber: 4.5g, Sugar: 0.5g
Keywords: Black Beans, black beans and rice, budget friendly, canned black beans, high fiber, rice and beans

Categories:

The post Black Beans and Rice appeared first on Skinnytaste.


from Skinnytaste https://ift.tt/FWnurJp

Hot Fudge

Homemade hot fudge is silky smooth and full of intense chocolate flavor without being too sweet. It is made up of 3 simple ingredients and ready in just 10 minutes. This is the perfect topping for hot fudge sundaes, fruit, and your favorite desserts!

Is there really anything better than chocolate? Honestly, I can’t think of anything! And this hot fudge is so good I could eat it by the spoonful! It’s just a little too easy to eat, so make sure you have plenty of friends to share it with. If you are in the mood for all things chocolate, you should try this creamy Chocolate Lasagna, these cute and easy Homemade Reese’s Eggs, and this irresistible Mississippi Mud Cake.

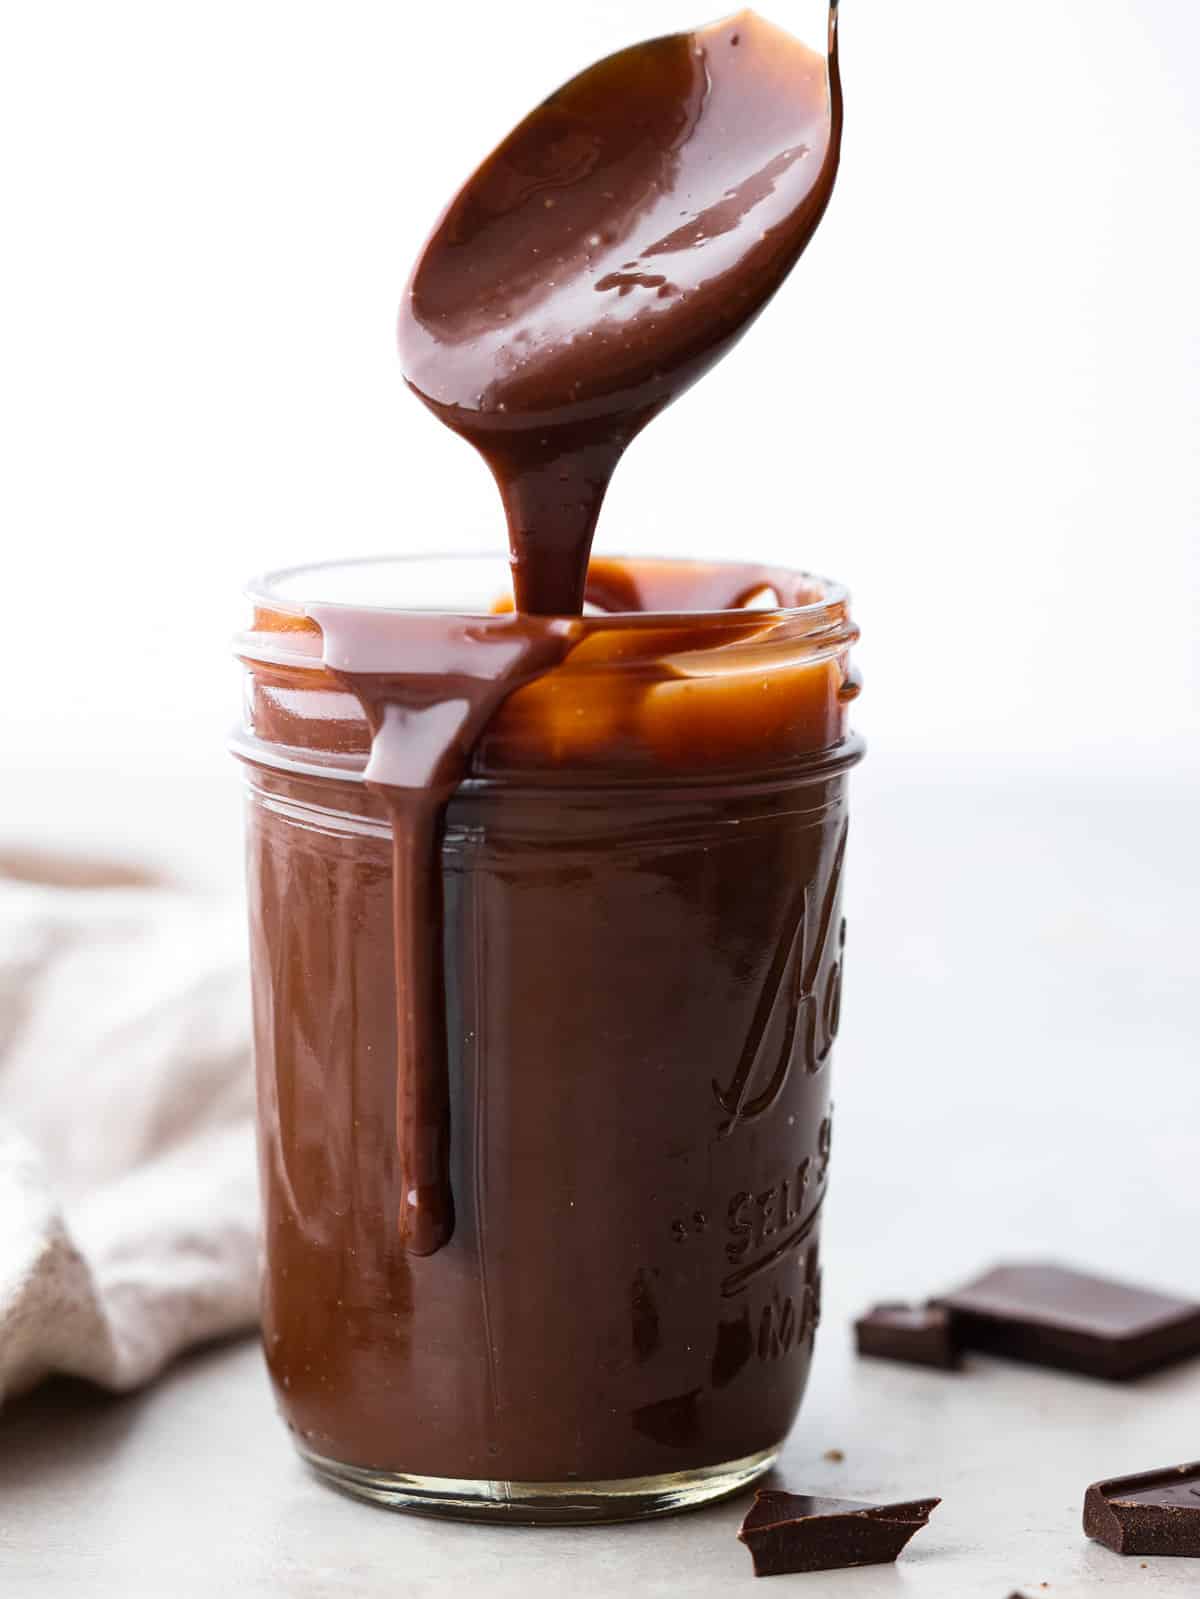
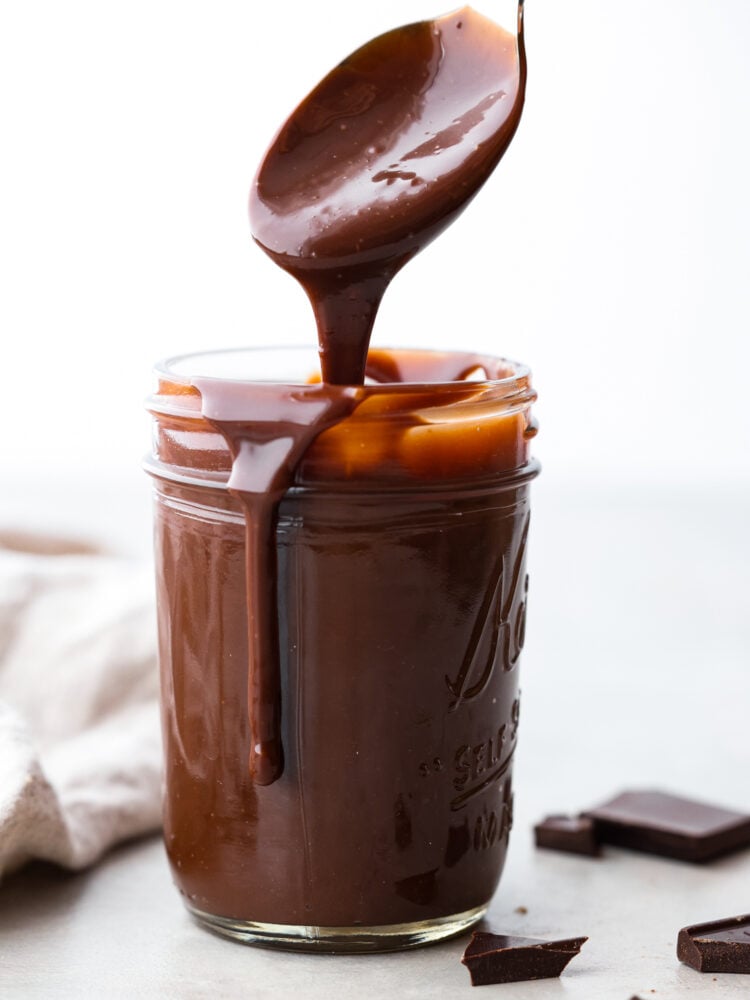
A spoon pulling out of a jar of hot fudge.

Hot Fudge Recipe

This hot fudge recipe is a classic that everyone in the family will love. My favorite part about it is there is absolutely no corn syrup! This fudge sauce is perfectly creamy with just three simple ingredients. Get ready for the most decadent hot fudge sundae you’ve ever had because this is the best hot fudge sauce out there. It is so much better than store-bought, you will never pick up a jar at the store again.

For the perfect hot fudge sundae, try this homemade caramel sauce too. If you want to have tons of fun with a kid friendly ice cream recipe, you should try this snow ice cream recipe! It was a total blast to make with my kids. If you live in a warmer climate where you won’t have any snow, then try this ice cream in a bag. Another way we love eating this hot fudge is drizzled on top of these turtle brownies or with these cherry cheesecake brownies.

Ingredients

There isn’t much to this homemade hot fudge sauce, and yet it will be the best hot fudge you’ve ever had! It is so easy to make, and only has three ingredients. You could add other things like vanilla extract, cocoa powder, and salt if you wanted to, but those are not necessary. I think this recipe is perfect just the way it is! You can find the full measurements below in the recipe card.

  • Semi-Sweet Chocolate: You want to use a high quality chocolate, choose your favorite! I used Dove chocolate here. I like the dark chocolate Dove candies because they have a great rich flavor. You could use chocolate chips or bar chocolate too!
  • Butter: I use unsalted butter and it doesn’t matter if it is room temperature or right out of the refrigerator.
  • Sweetened Condensed Milk: This is the real magic. It makes the fudge the perfect consistency and so creamy and rich.
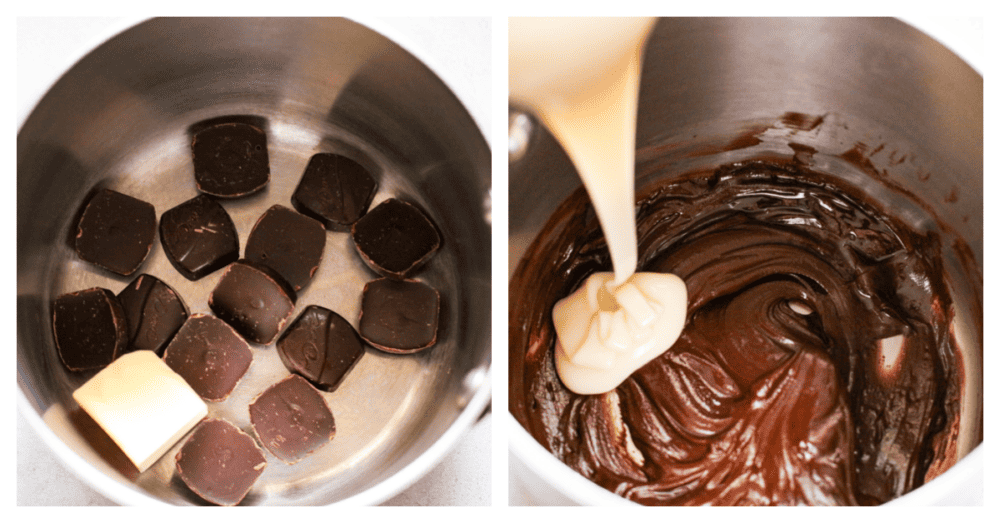
Process photos showing how to heat up the chocolate and add the condensed milk.

Hot Fudge Sauce Recipe

This recipe is so easy! I know some people who will make their hot fudge in the microwave, which I suppose you could do here too. You probably won’t get as thick of a mixture as you will over the stove, but it could be a quick option. I prefer to do it the old-fashioned way over the stove because it always turns out exactly the way I want it! Just make sure not to boil this mixture, it does not need to get that hot.

  1. Melt: In a saucepan, melt the chocolate and the butter together over low heat.
  2. Cook: Add the sweetened condensed milk and cook over low heat until thickened.
  3. Cool: Remove from heat and let cool. Store in the fridge in an airtight container. Reheat in 15 second intervals, stirring between.
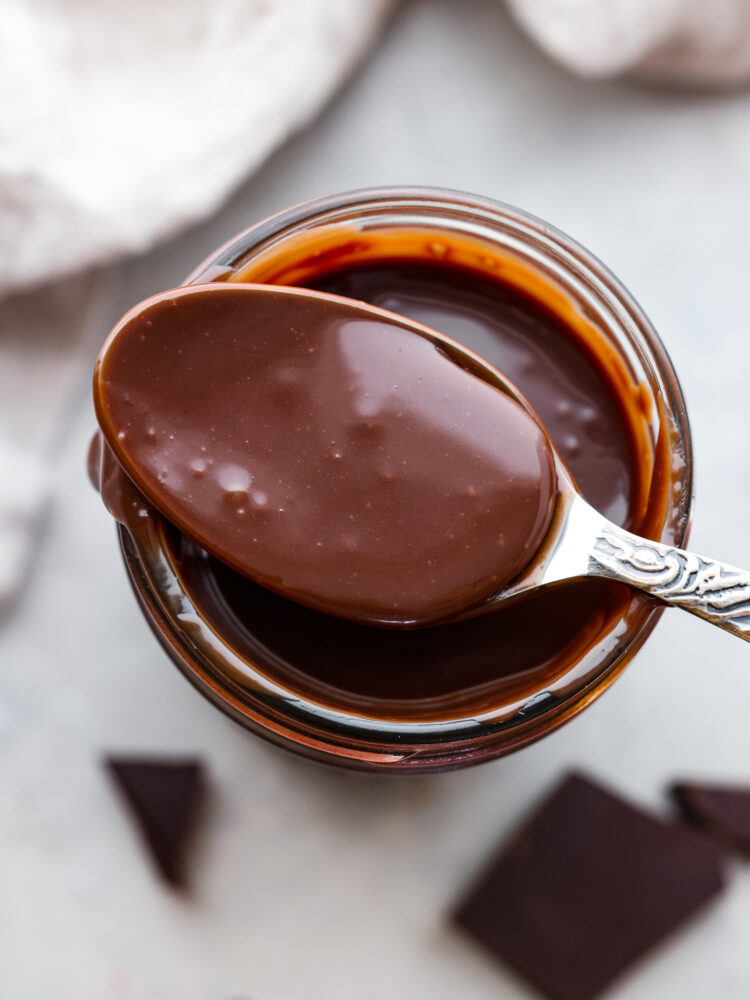
A spoon showing the hot fudge.

Tips for Making Hot Fudge

There are a lot of hot fudge recipes out there, but this is by far the best one I’ve ever had. That doesn’t mean you can’t make it your own! Here are a few tips on how to make this hot fudge recipe.

  • Choosing Your Chocolate: Using high-quality chocolate will make a huge difference in the flavor of the hot fudge. You can use whatever your favorite chocolate is, just make sure you love the taste of the chocolate on its own.
  • Types of Chocolate: Semi-sweet or dark chocolate is best for this recipe. I think that using milk chocolate makes the fudge sauce too sweet. You can choose to use semi-sweet chocolate chips or a candy like Dove. I have also used bittersweet chocolate and thought it was incredible, you really can’t go wrong with this one!
  • What to Eat It With: Obviously, this hot fudge is incredible with ice cream! I have also dipped cheesecake stuffed strawberries in it and it was incredible. It acts like a fondue! You can keep it in a fondue pot to keep it from getting too cold and dip anything you like in it. It’s also amazing over fluffy pancakes or perfect waffles.
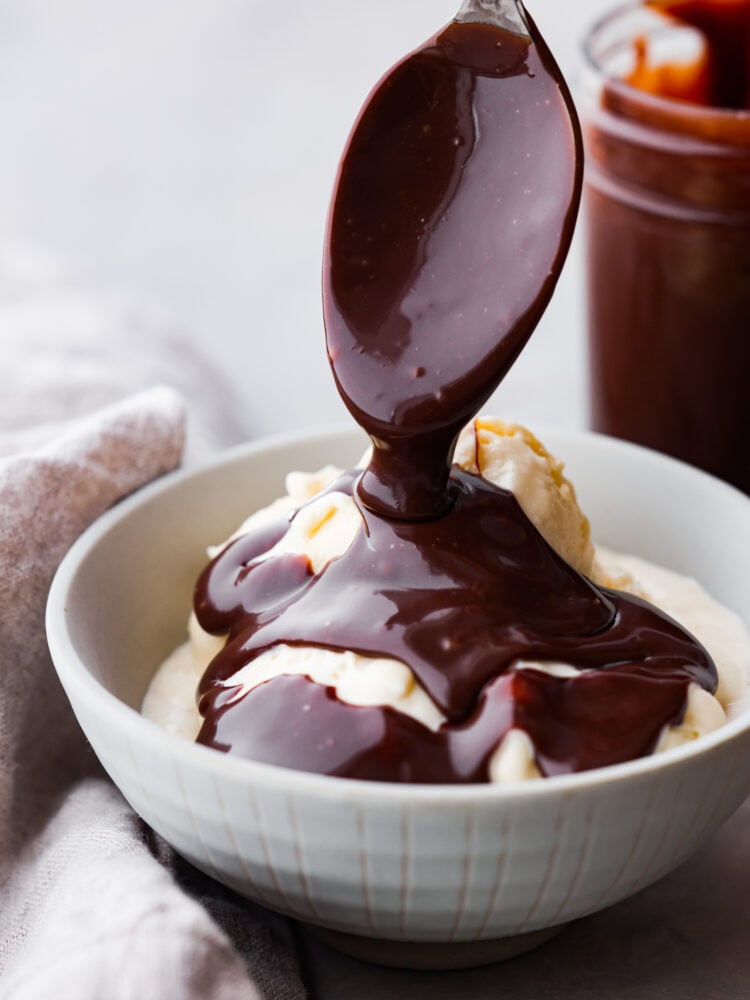
A spoon drizzling hot fudge over a bowl of ice cream.

Storing Leftovers

This hot fudge is so awesome to have in the refrigerator. I love being able to pull it out whenever I need it! Here is how to store leftovers.

  • In the Refrigerator: Store in the fridge in an airtight container for up to 2 weeks.
  • Reheating: Reheat gently to avoid burning the sauce. You can reheat it in the microwave 15 seconds at a time and stir in between.
Print

Hot Fudge Sauce

Homemade hot fudge is silky smooth and full of intense chocolate flavor without being too sweet. It is made up of 3 simple ingredients and ready in just 10 minutes. This is the perfect topping for hot fudge sundaes, fruit, and your favorite desserts!
Course Dessert
Cuisine American
Keyword chocolate sauce, hot fudge, hot fudge sauce
Prep Time 10 minutes
Cook Time 0 minutes
Total Time 10 minutes
Servings 8 people
Calories 108kcal
Author Alyssa Rivers

Ingredients

  • 4 ounces high quality semi-sweet chocolate
  • 2 tablespoons unsalted butter
  • 1 14-ounce can sweetened condensed milk

Instructions

  • In a saucepan, melt the chocolate and the butter together over low heat.
  • Add the sweetened condensed milk and cook over low heat until thickened.
  • Remove from heat and let cool. Store in the fridge in an airtight container. Reheat in 15 second intervals, stirring between.

Nutrition

Calories: 108kcal | Carbohydrates: 8g | Protein: 1g | Fat: 8g | Saturated Fat: 5g | Polyunsaturated Fat: 0.3g | Monounsaturated Fat: 2g | Trans Fat: 0.1g | Cholesterol: 8mg | Sodium: 2mg | Potassium: 82mg | Fiber: 1g | Sugar: 5g | Vitamin A: 95IU | Vitamin C: 0.004mg | Calcium: 10mg | Iron: 1mg


from The Recipe Critic https://ift.tt/50UHZOp

Sunday, 29 January 2023

Tortilla Encrusted Chicken Tenders

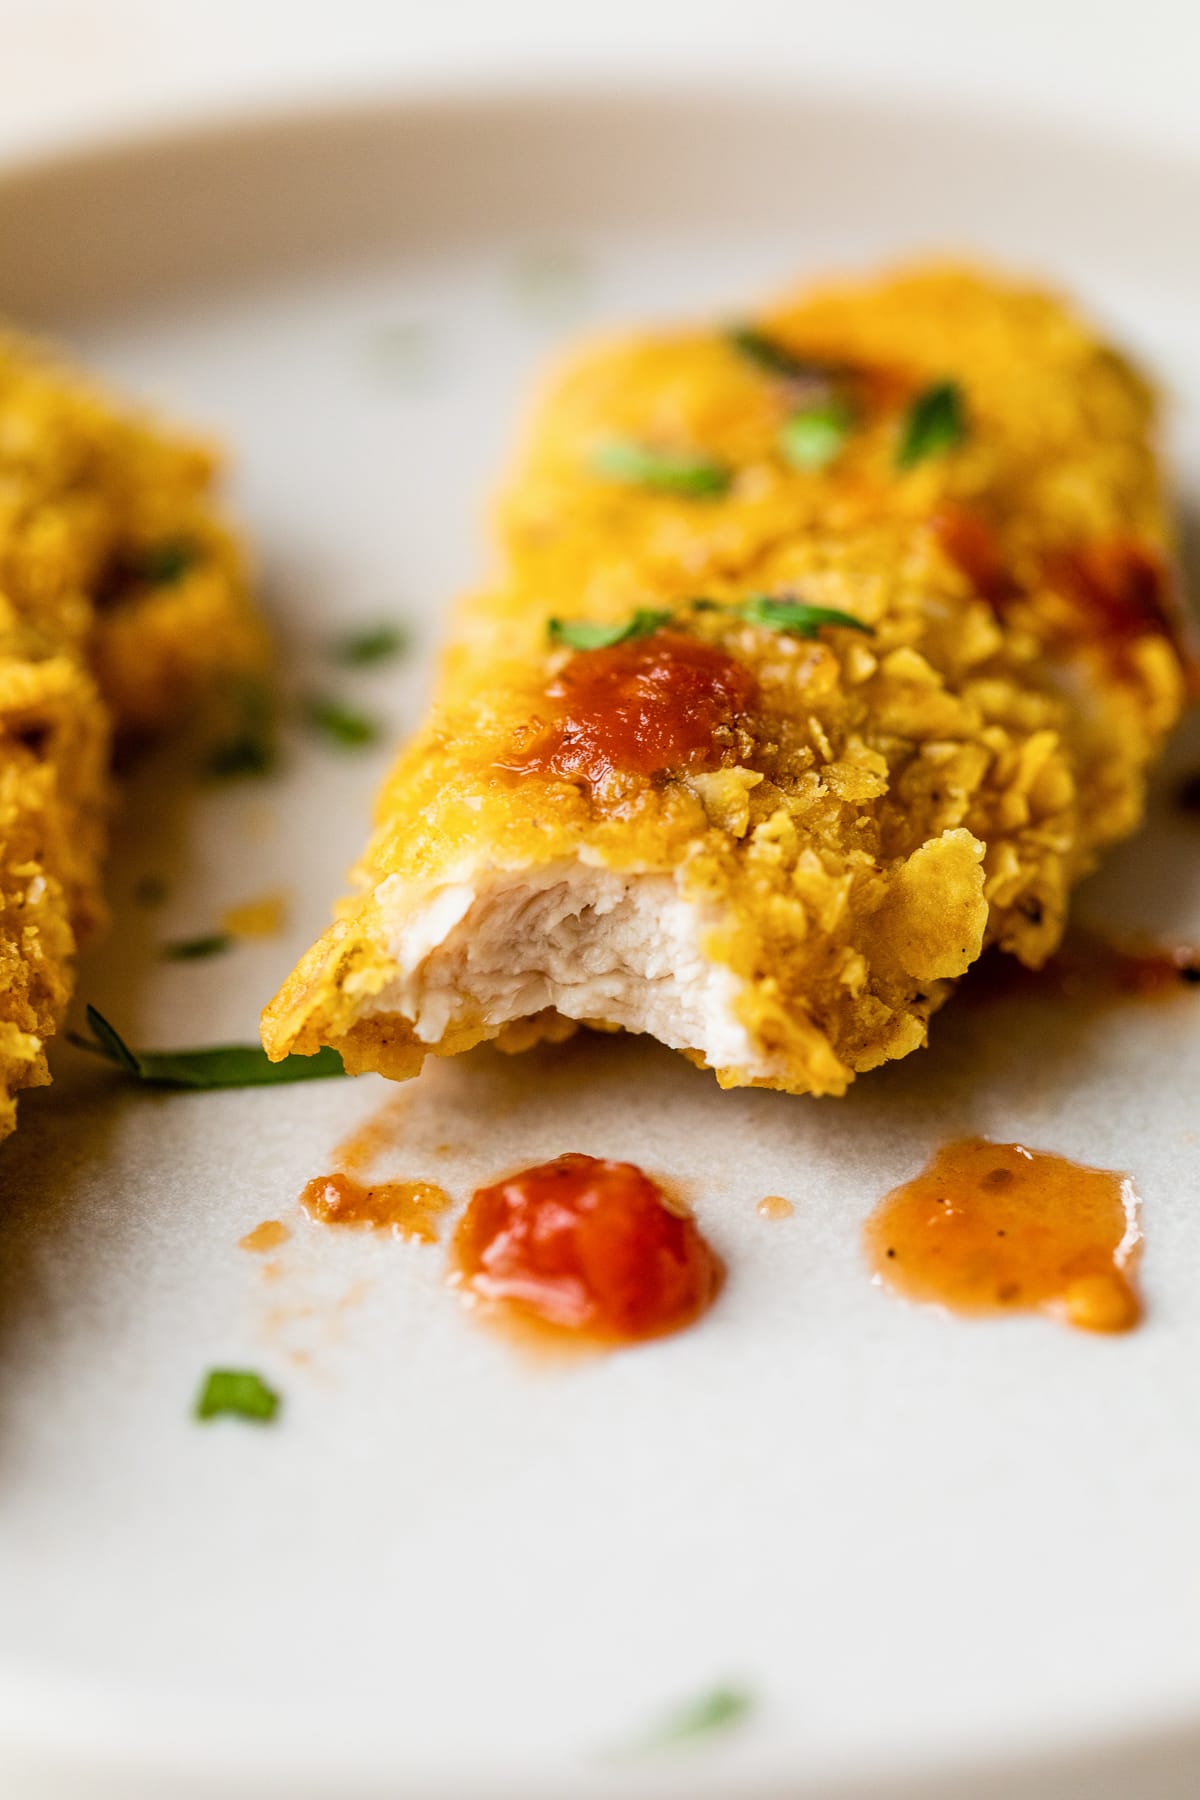
Tortilla Encrusted Chicken Tenders coated with seasoned crushed tortilla chips and served with salsa. An easy, family weeknight dish!

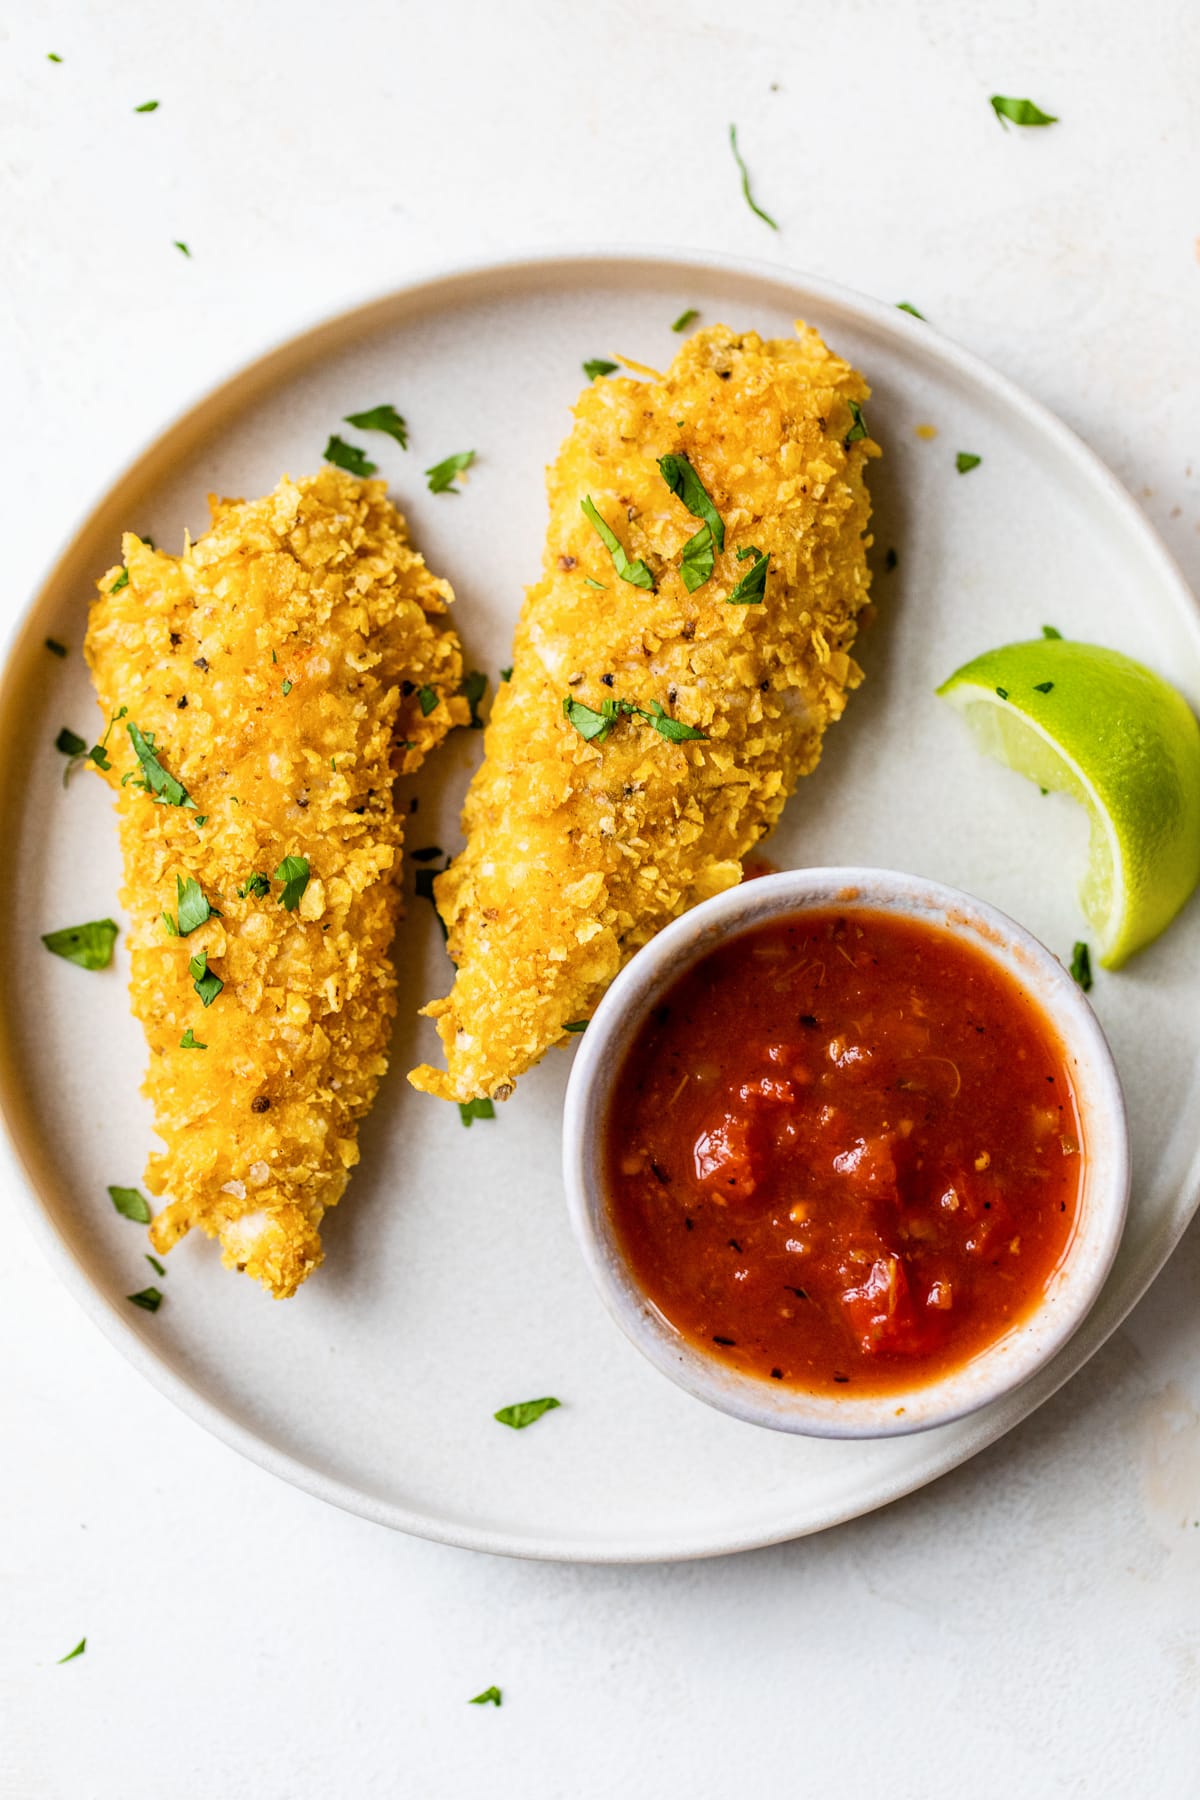
Tortilla Encrusted Chicken Tenders with salsa

Tortilla Encrusted Chicken Tenders

I love this fun tex-mex twist on chicken tenders! It’s perfect with a Mexican corn salad or a black bean salad. Chicken tenderloins are easy to cook for weeknight dinners because there’s not much prep. They are already cut to the perfect size so all you have to do is bread them and bake or air fryer. If you want more ideas for chicken tenders, try my Air Fryer Chicken Tenders, or these Pickle Brined Chicken Tenders.

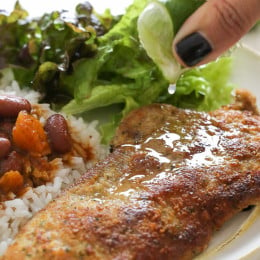
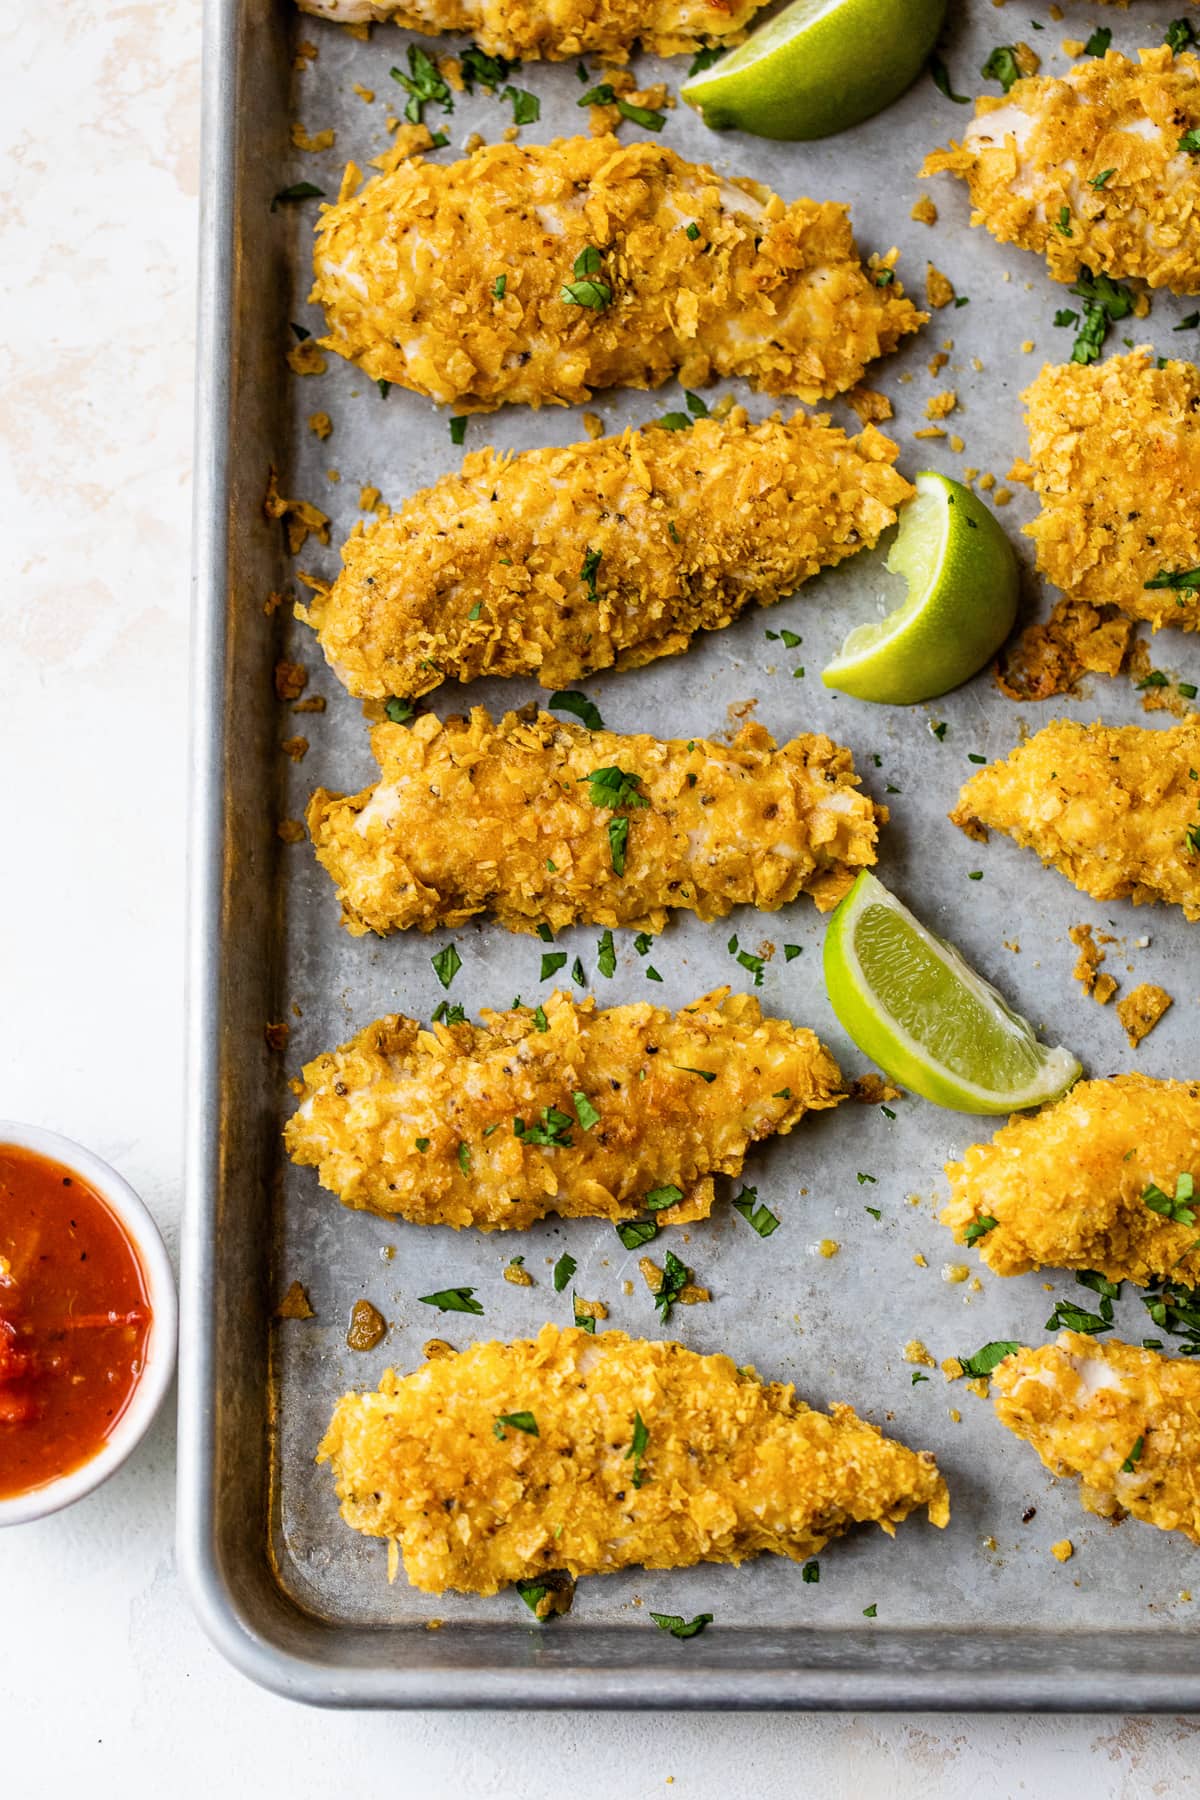
Tortilla Encrusted Chicken Tenders with lime wedges

This recipe got two thumbs up from my family. They are easy to make, and take less than 30 minutes – perfect for weeknight cooking! I crushed the tortillas in a ziplock bag and left it a little course for texture. The squeeze of lime on top and salsa for dipping, adds a fun Mexican-American twist to chicken tenders.

How do you get the breading to stick to the chicken tenders?

How To Keep Breading From Falling Off Chicken

  1. Pat the chicken dry.
  2. Dredge in flour.
  3. Dip in beaten eggs.
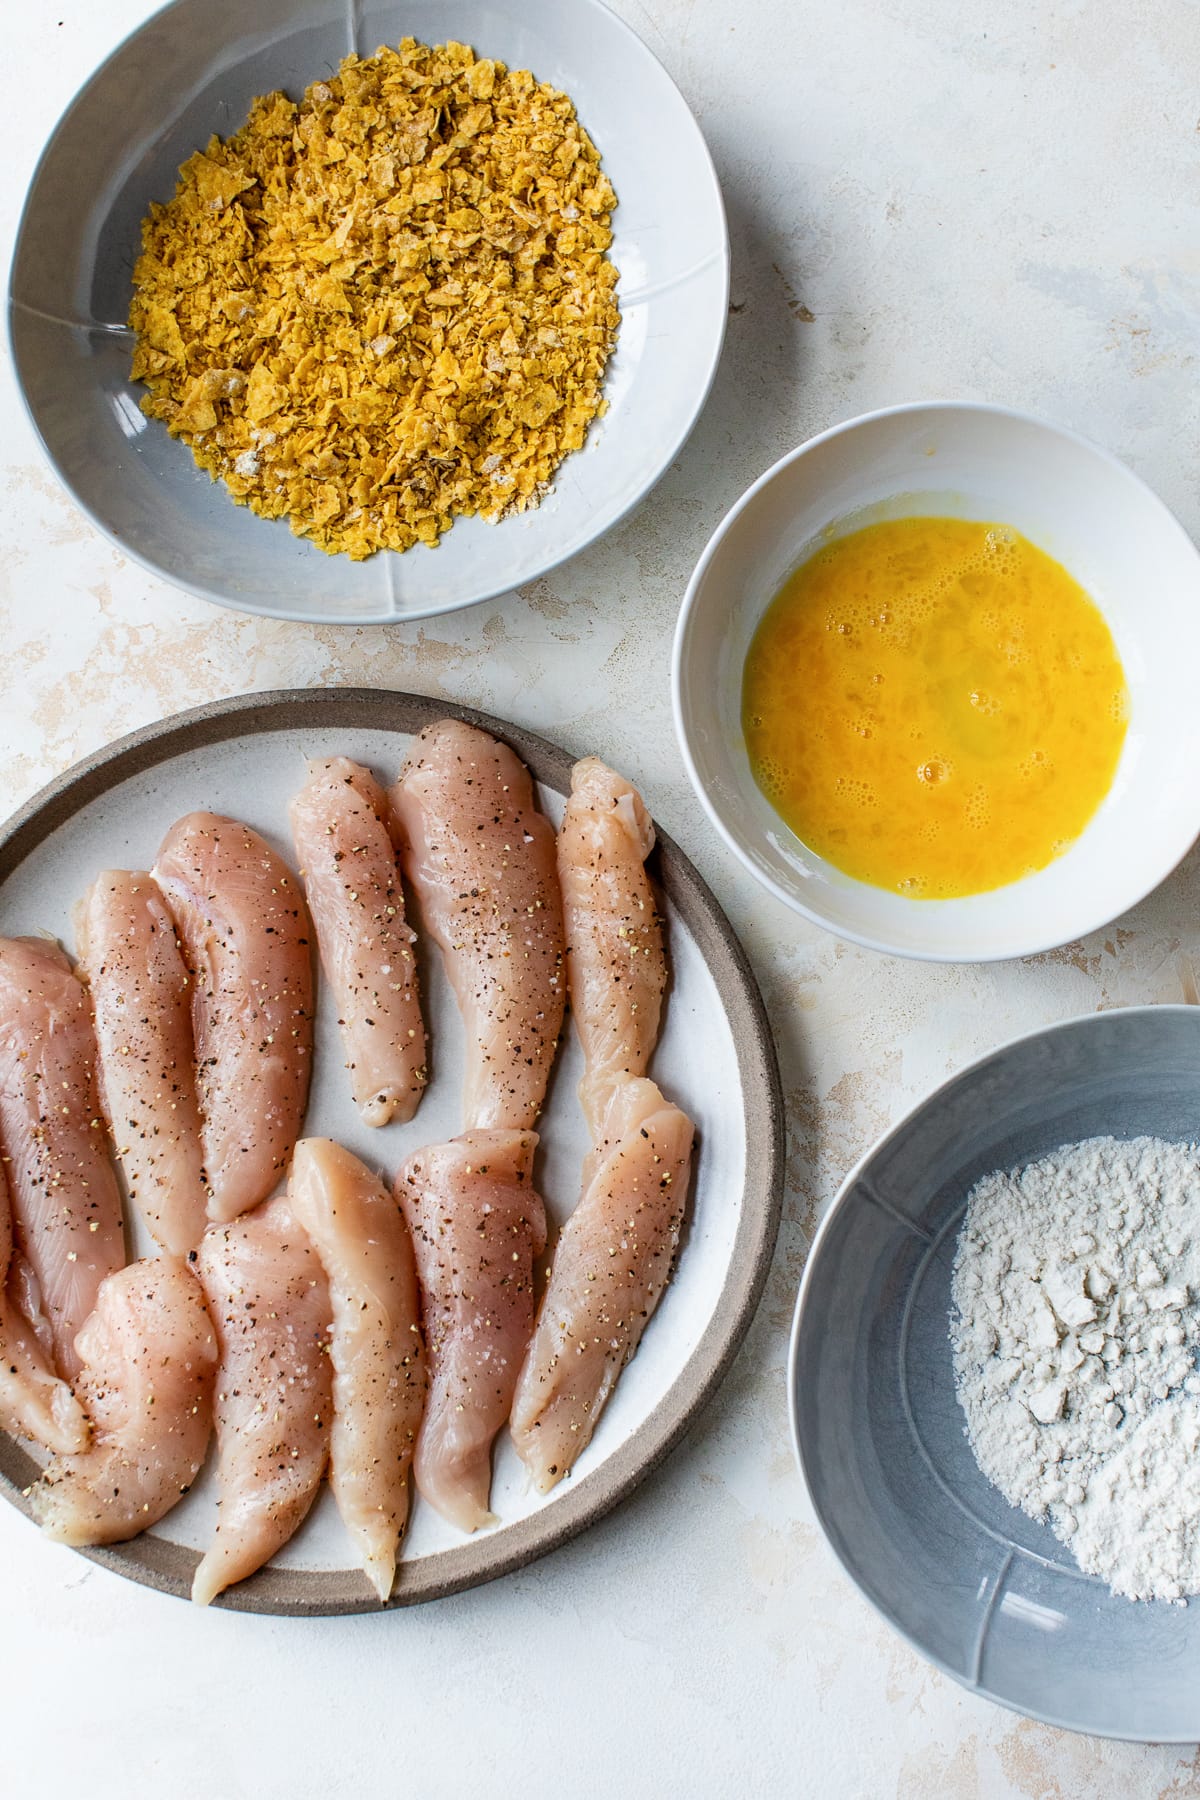
  4. Coat in the crumbs, pressing the crumbs with the back of a fork.
  5. Carefully transfer to a baking sheet.
Tortilla Encrusted Chicken Tenders ingredients
Tortilla Encrusted Chicken Tenders with salsa

More family-friendly chicken recipes:

Tortilla Encrusted Chicken Tenders with lime wedges
Print WW Personal Points
5 from 8 votes
Did you make this recipe?

Tortilla Encrusted Chicken Tenders

4
331 Cals 34 Protein 22 Carbs 11 Fats
Prep Time: 5 mins
20 mins
Total Time: 25 mins
Yield: 4 servings
COURSE: Appetizer, Dinner, Lunch
CUISINE: American, Tex Mex
These baked chicken tenders are coated with seasoned crushed tortilla chips, baked until golden and served with salsa. An easy, weeknight chicken dish, great for the kids, or even adults!

Ingredients

  • 1 ¼ pound chicken tenderloins
  • 1 teaspoon kosher salt
  • 2 tablespoons all-purpose flour, or gluten-free flour*
  • 1 large egg, lightly beaten
  • 3 1/2 ounces crushed tortilla chips*
  • 1 teaspoon garlic powder
  • 1 teaspoon cumin
  • Olive oil spray
  • 1/2 lime, cut into 4 wedges
  • chopped fresh cilantro, for garnish
  • 1/2 cup jarred salsa, for dipping

Instructions

  • Preheat oven to 400F.
  • Season chicken tenders with 3/4 teaspoon salt. Place flour on a shallow plate and egg in a medium bowl.  Place tortilla chips, remaining 1/4 teaspoon salt, garlic powder, cumin, and pepper on another shallow plate.
  • Dredge each tender lightly in flour, then egg (shaking off excess), then chip mixture.  Lightly spray sheet pan with olive oil, place tenders on pan and spray the top with olive oil. Bake about 8 to 10 minutes on each side or until cooked through.
  • To serve: Place 2 tenders on each plate, garnish with cilantro. Serve with 1 lime wedge and salsa for dipping.

AIR FRYER Directions:

  • Spray the chicken on both sides with oil. Air fry in batches as needed in a single layer 5 to 6 minutes on each side.

Notes

*Check labels for gluten-free.

Nutrition

Serving: 2tenders, 2 tbsp salsa, Calories: 331kcal, Carbohydrates: 22g, Protein: 34g, Fat: 11g, Saturated Fat: 2g, Cholesterol: 137mg, Sodium: 695mg, Fiber: 1.5g, Sugar: 2g
Keywords: baked chicken tenders, chicken tenders, healthy chicken tenders, tortilla encrusted chicken

Categories:

The post Tortilla Encrusted Chicken Tenders appeared first on Skinnytaste.


from Skinnytaste https://ift.tt/2ot7DNw