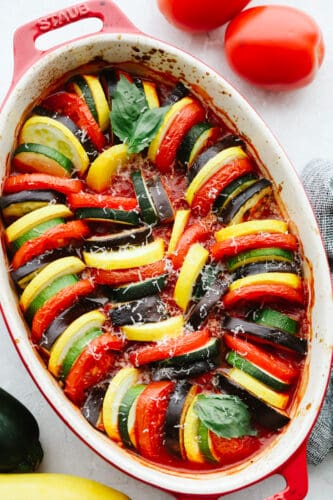
This ratatouille is made up of delicious sliced vegetables that are seasoned to perfection and cooked in a delicious sauce. It’s so good that you will want to add it as a side to every meal!
If you love vegetable side dishes like this one then you MUST TRY these potatoes, carrots, or even this asparagus. They are all amazing which makes it hard to pick a favorite!

What is Ratatouille?
If you have kids then I’m sure that you’re familiar with the movie called Ratatouille but what exactly is the food? Well, trust me when I tell you that this dish is one of the best ways to cook up some vegetables! Ratatouille is thinly sliced vegetables such as eggplant, squash, zucchini, and tomatoes that are seasoned and baked in a delicious sauce.
Ratatouille not only makes an excellent option for a side dish but it is completely filling on its own. Serve it with a French baguette or even some delicious garlic bread. I love using the sauce to dip them in! This recipe is simple to make but when you see it finished all baked and full of color, you will see that it not only tastes amazing but it looks so fancy! Try it out, I think it will become a favorite!
Ingredients in Ratatouille
These ingredients are so delicious and easy. The sauce that these vegetables are cooked in makes my mouth water! See the recipe card at the bottom of the post for exact measurements.
- Extra virgin olive oil: The extra virgin olive oil is adds a delicious flavor.
- Garlic cloves: If you don’t have fresh garlic cloves you can use minced garlic. ½ tsp equals about 1 clove of garlic.
- Yellow onion: This is going in your sauce so chop the pieces up really small.
- Crushed tomatoes: This will be used as the base of the sauce.
- Balsamic vinegar: Balsamic vinegar brings the best flavor to this sauce.
- Italian herbs: This will bring in those classic herb that you typically see in a marinara sauce.
- Sea salt: You will put this in to taste.
- Vegetables: Zucchini, yellow squash, Japanese eggpant, tomatoes are classic in ratatouille.
How to Make Ratatouille
Ratatouille seems so intimidating but it’s really not! In less than an hour, you can have this steaming on your table and ready to eat!
- Preheat and prep cooking dish: Preheat oven to 375°F. Spray a 1.5 qt. baking dish with non stick cooking spray. Set aside.
- Make the sauce: For the sauce, heat a saucepan over medium low heat. Add the olive oil and onions. Sauté for a 3 minutes until the onions start to soften. Be careful not to brown the onions. Add the garlic and sauté for an additional minute. Add the crushed tomatoes, balsamic vinegar, Italian herbs, and salt. Stir and simmer for 5 minutes. Set aside.
- Cut up the vegetables: Prepare the vegetables by cutting the ends off of each side. Using a sharp knife, cut all vegetables into the same thickness so they cook evenly. The eggplant may need to be quartered to match the size of the other vegetables.
- Assemble in baking dish: To assemble the ratatouille, pour the sauce into the prepared baking dish. Next, layer the vegetables over the sauce by overlapping each vegetable. Arrange the vegetables in a consistent alternating pattern.
- Season: Drizzle the olive oil over the vegetables, and season with salt and pepper.
- Bake: Cover with foil and bake for 40 minutes, or until the vegetables are tender, not soggy.
- Top and serve: Serve with fresh basil and grated parmesan. Enjoy!

Cooking Tips
I’ve come up with a few tips that will help your ratatouille turn out just right. In fact, this is going to taste so good that I bet it starts to turn up on your weekly menu at home!
- Sliced vegetables: When you slice up your vegetables, try to make them all about the same size. That way they will cook evenly.
- Keep it thick: If you want to keep your sauce from getting runny then stir it often. If it starts to become runny then turn the heat up a bit and continue stirring.
- Double the recipe: This ratatouille tastes so good (if not better) the next day so if I were you, I would just cook up some extra all at the same time. You won’t regret it!

How to Store Leftovers
Ratatouille tastes extra good the next day because all of the flavors have really mixed together. Just place the leftover ratatouille in an airtight container and put it in your fridge. It can last for up to a week. When you are ready to eat it, you can just reheat it in your microwave for a minute or two until it’s heated through.
Make it a Meal!

Dinner
Baked Parmesan Chicken

Bread
Homemade Breadtwists
Salads
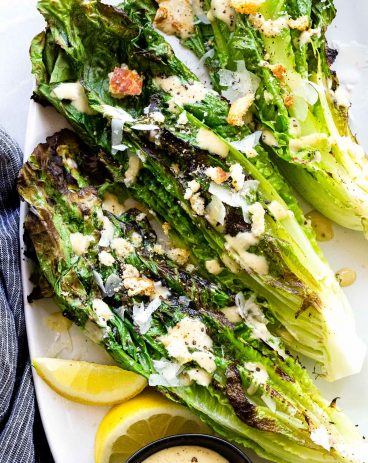
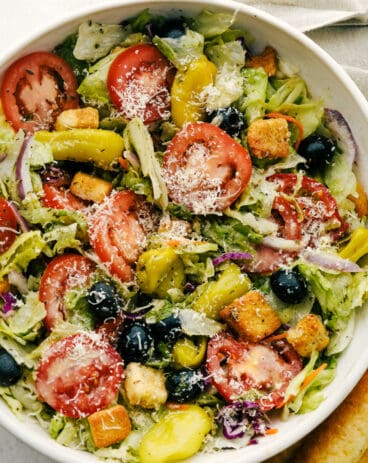
Copycat Olive Garden Salad
Side Dishes
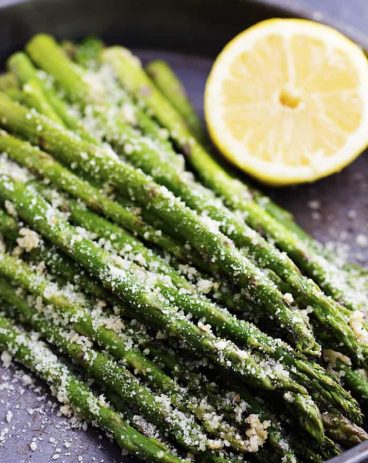
Roasted Lemon Parmesan Garlic Asparagus
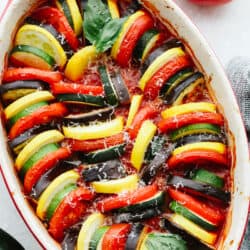
Classic Ratatouille
Ingredients
Sauce
- 1 Tablespoon extra virgin olive oil
- 2 cloves garlic, minced
- 1/4 cup yellow onion, finely chopped
- 1 (15 ounces) canned crushed tomatoes
- 1 Tablespoon balsamic vinegar
- 1 Tablespoon dried Italian herbs
- 1/4 teaspoon sea salt to taste
Vegetables
- 2 small zucchini
- 2 small yellow squash
- 2 small Japanese eggplant
- 5 roma tomatoes
- 1 Tablespoon extra virgin olive oil
- sea salt & pepper to taste
Instructions
-
Preheat oven to 375°F. Spray a 1.5 qt. baking dish with non-stick cooking spray. Set aside.
-
For the sauce, heat a saucepan over medium-low heat. Add the olive oil and onions. Sauté for 3 minutes until the onions start to soften. Be careful not to brown the onions. Add the garlic and sauté for an additional minute. Add the crushed tomatoes, balsamic vinegar, Italian herbs, and salt. Stir and simmer for 5 minutes. Set aside.
-
Prepare the vegetables by cutting the ends off of each side. Using a sharp knife, cut all vegetables into the same thickness so they cook evenly. The eggplant may need to be quartered to match the size of the other vegetables.
-
To assemble the ratatouille, pour the sauce into the prepared baking dish. Next, layer the vegetables over the sauce by overlapping each vegetable. Arrange the vegetables in a consistent alternating pattern.
-
Drizzle the olive oil over the vegetables, and season with salt and pepper.
-
Cover with foil and bake for 40 minutes, or until the vegetables are tender, not soggy.
-
Serve with fresh basil and grated parmesan. Enjoy!
Nutrition
from The Recipe Critic https://ift.tt/3HvUSwC